Good day,
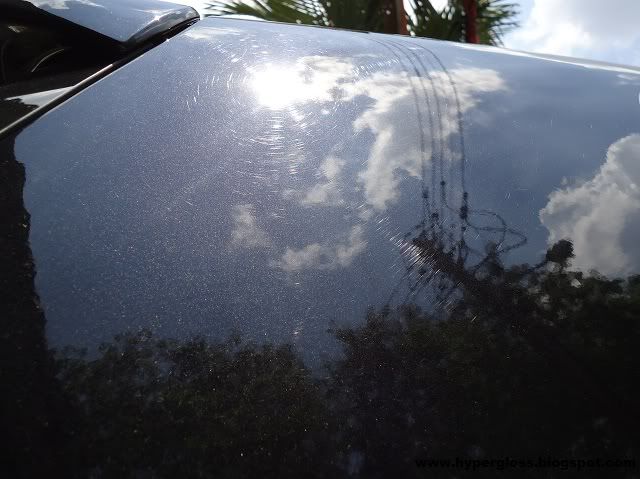
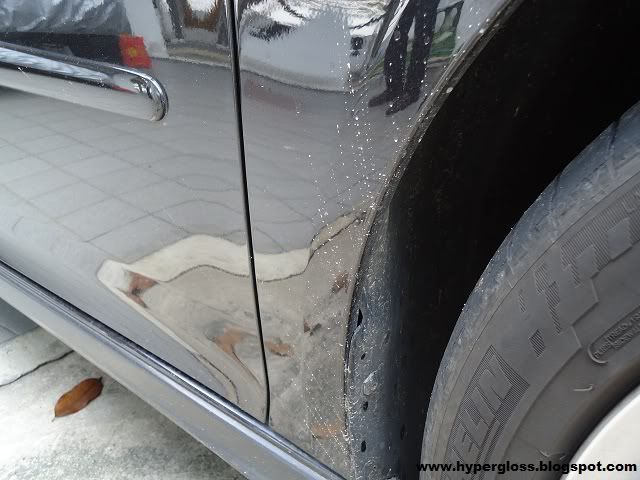
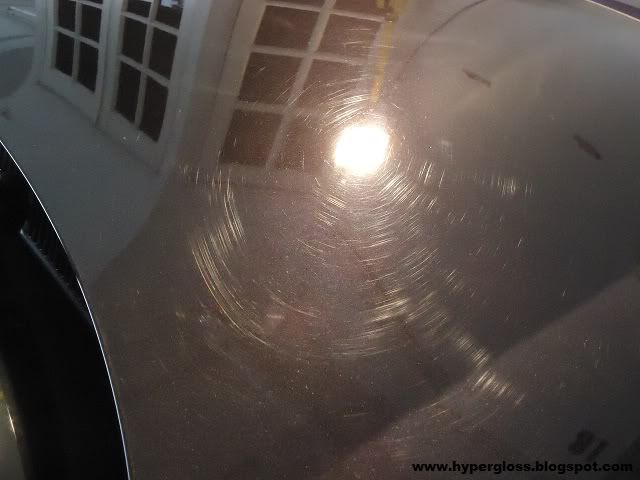
I've been detailing plenty of Golfs and this Golf is one of the worse one i ever seen. Owner use to wash his car at the roadside but once he notice his car getting more swirls and he decided to send it to the detailing center. After he get everything done at the center he noticed more swirls appeared especially under the sun.
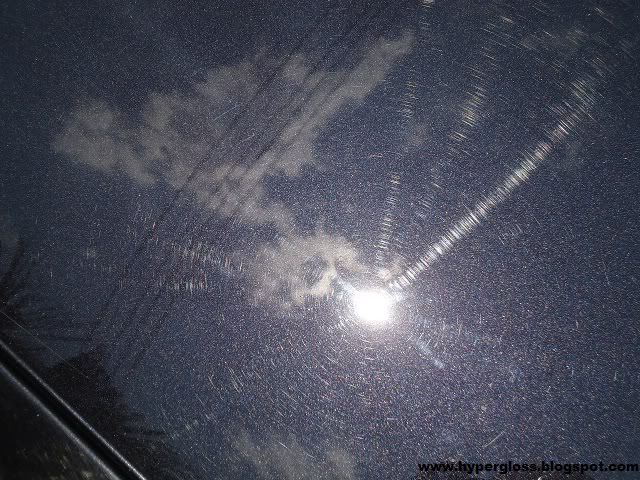
Obviously i can see he's mad about the previous job but i told him i will restore for him. This Golf really did gave me a hard time to remove all the swirls, the swirls i mean is a really deep one. The 1st time i compound the car with M105 via rotary using speed 3, the swirls still appear under my halogen. And then i give it a few more passes, almost 3-4 passes the swirls started to disappear. I know this is tough for me to correct a paint like this, ya.. whacked up one. I gave him a call to tell him your car need 2days to get it done properly. After he agreed, serious surgery begins..
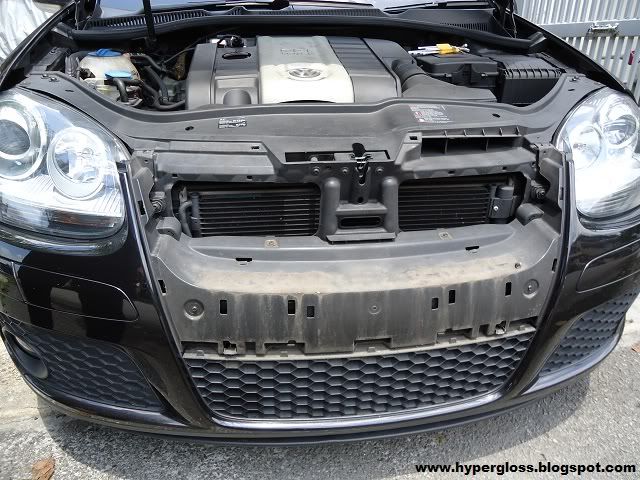
before it begins, here are the pictures upon arrival
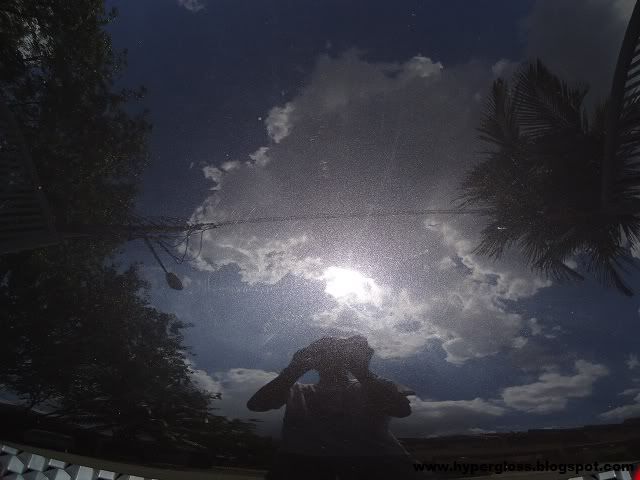
hologram
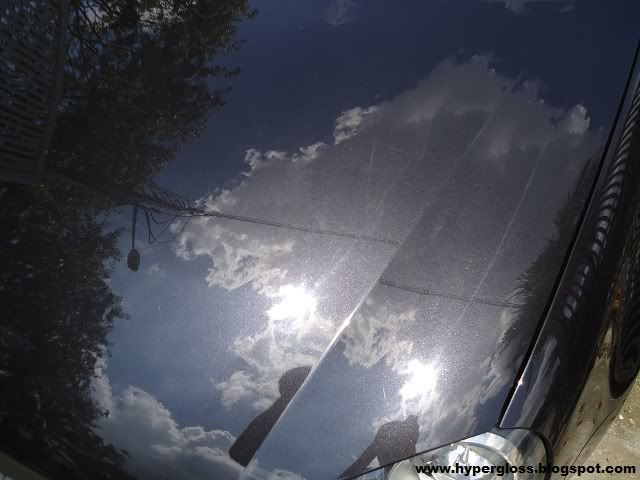
more
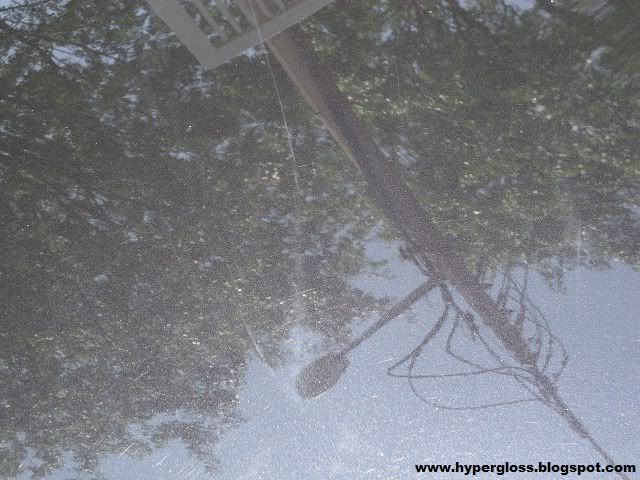
front grill took out
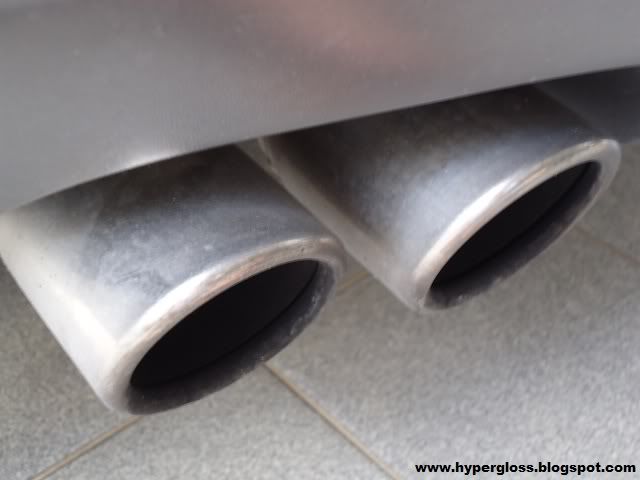
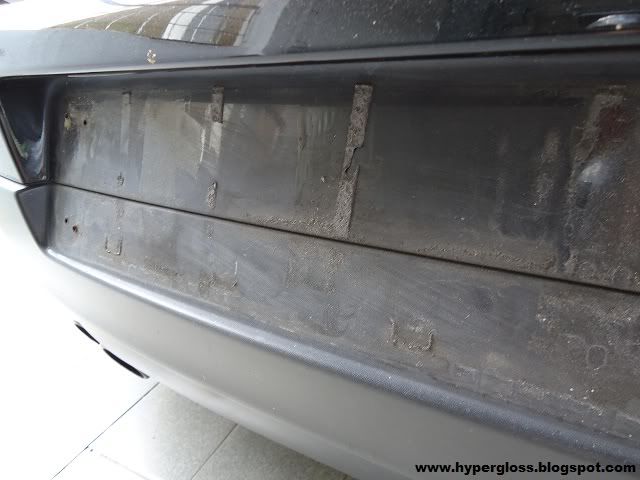
waterspot
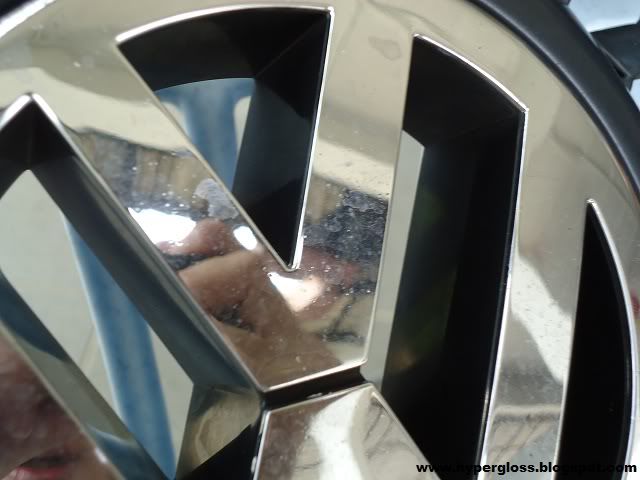
dirt
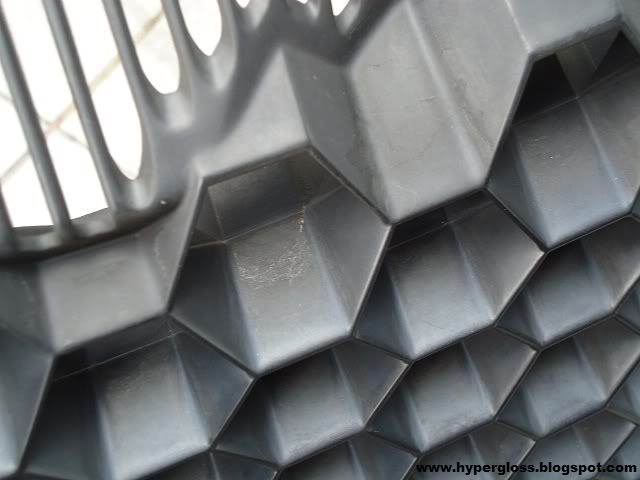
and more inside
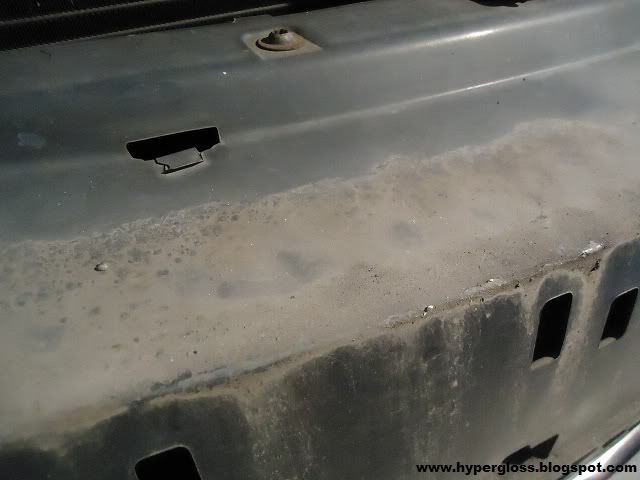
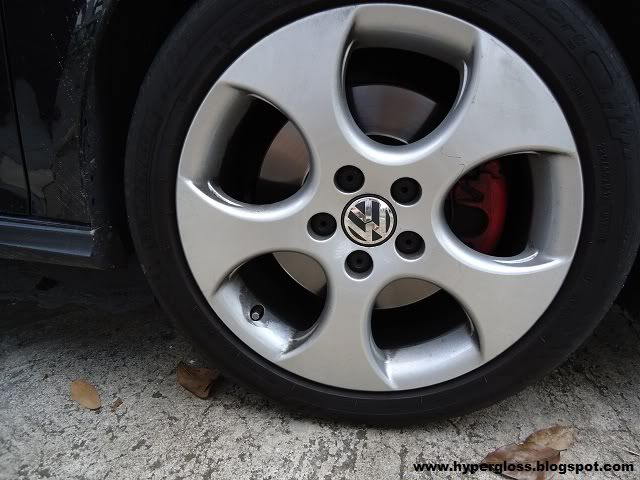
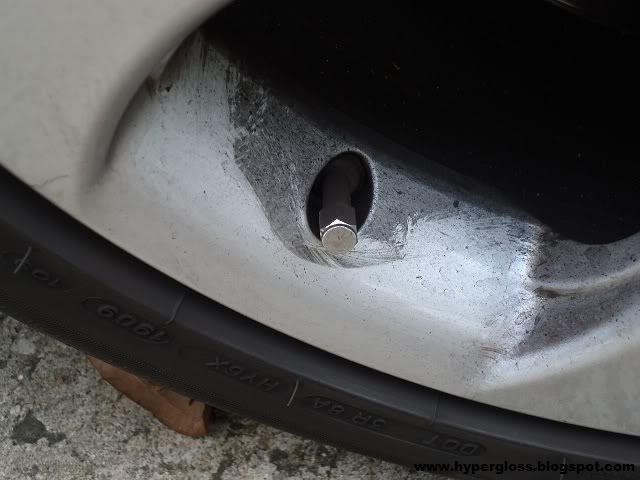
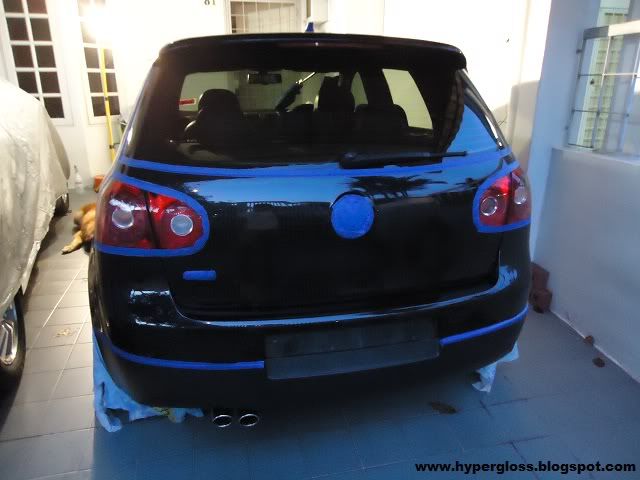
cleaning begins at the wheels 1st then rubbers cleaned with OPC 1:4, body washed with ONR, decontaminant with PermaGlass and ONR as lube. After done washing and cleaning, the rubbers, emblem are all masked with ACE Premium tape.
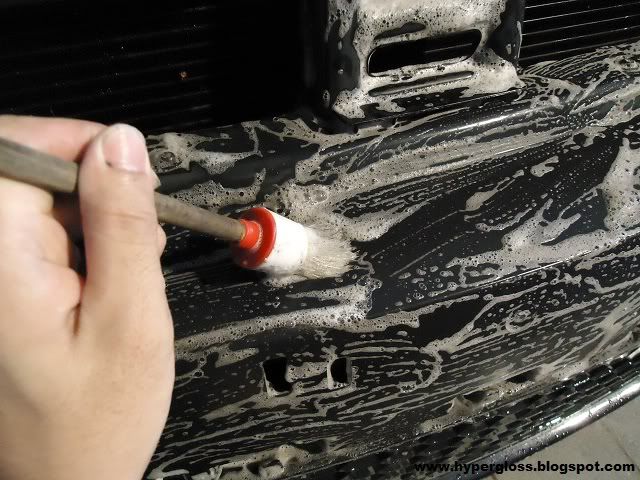
after
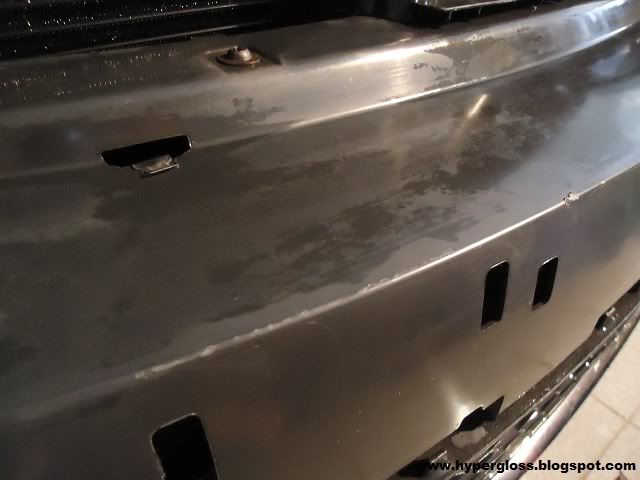
Inspection begins..
this is what i trying to tell, deep swirls
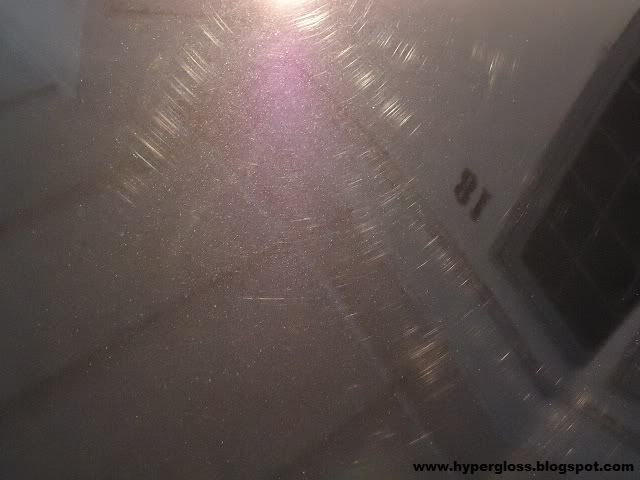
top
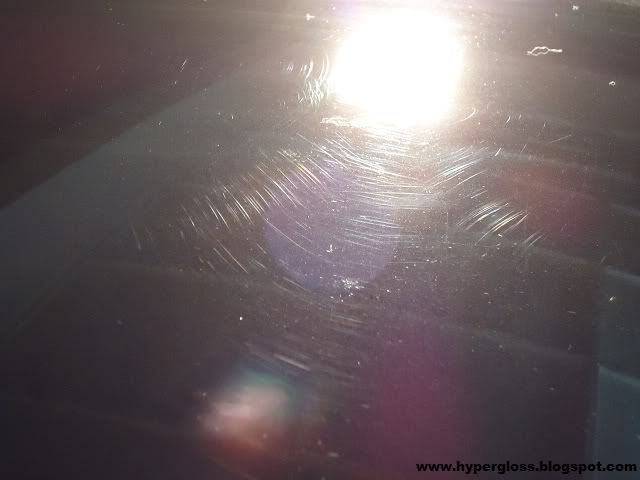
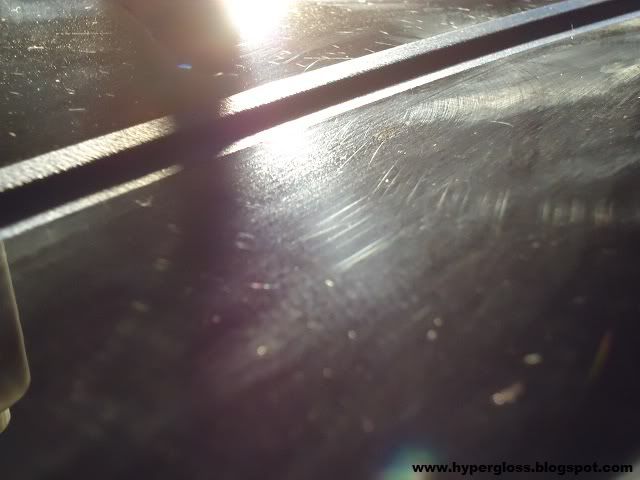
rear bonnet
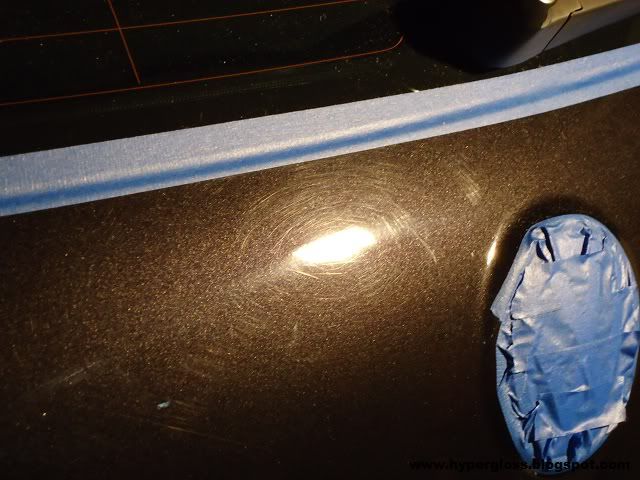
C pillar
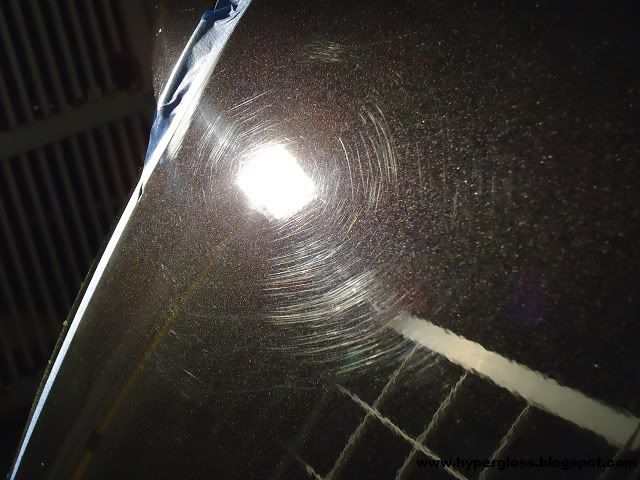
The surface was first compounded with M105 3-4 passes via rotary, compound marring was removed with M205 via rotary, finish off with OHP via Flex. The job were extremely dusty due to the dust from M105. The swirls from the body are completely removed except some deep RIDS.
hood before

50/50
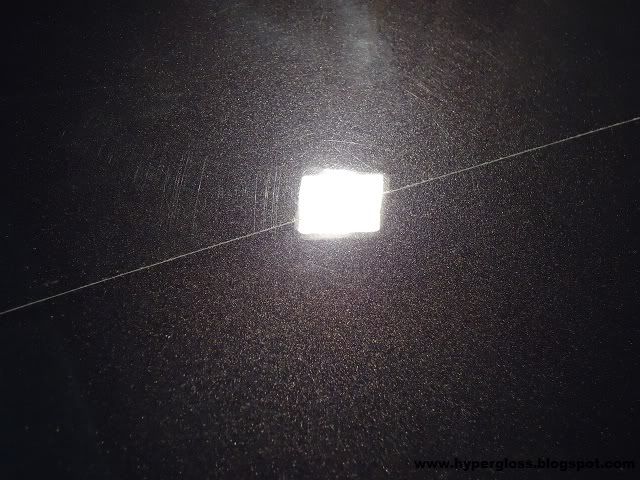
top before

after
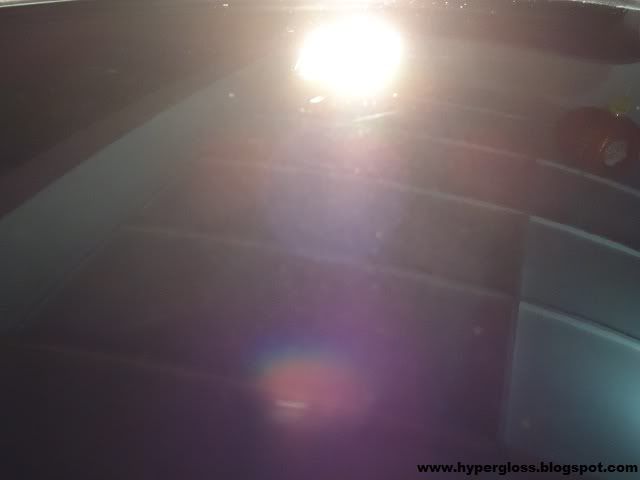

special tool 3"
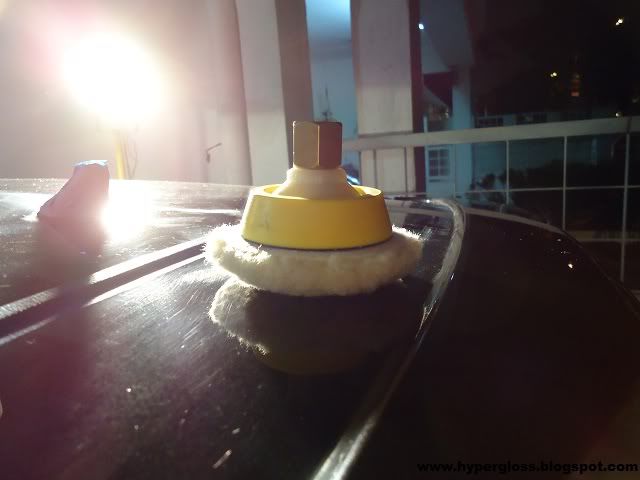
after
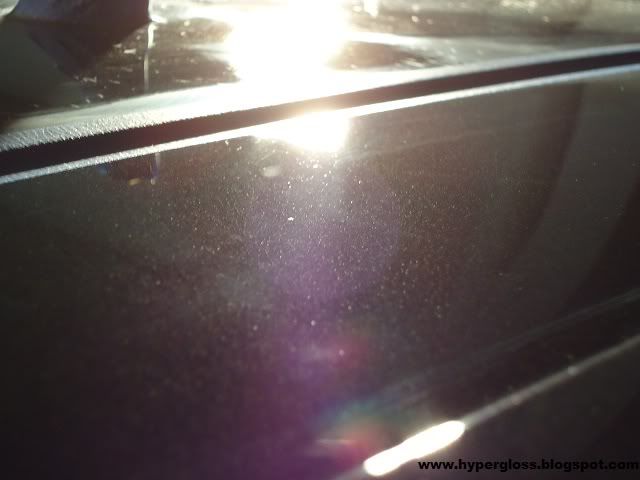
before

after
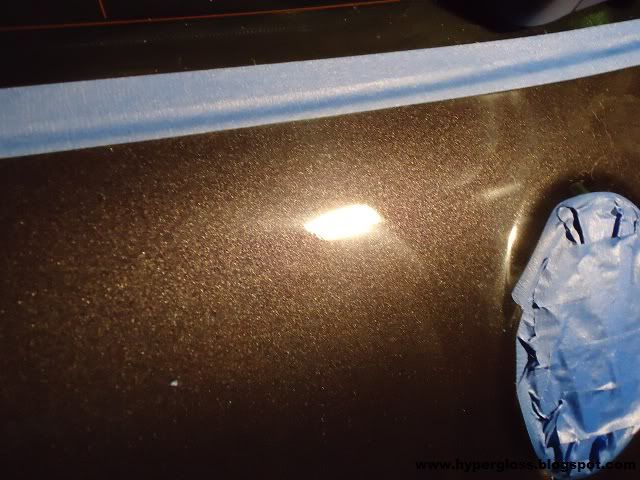
C pillar before

50/50
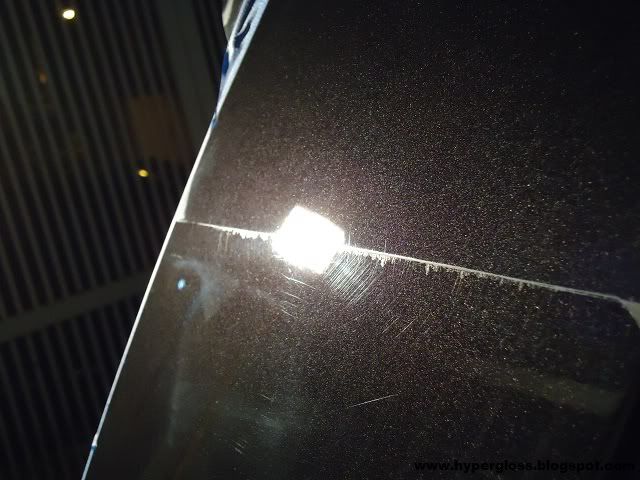
corrected side
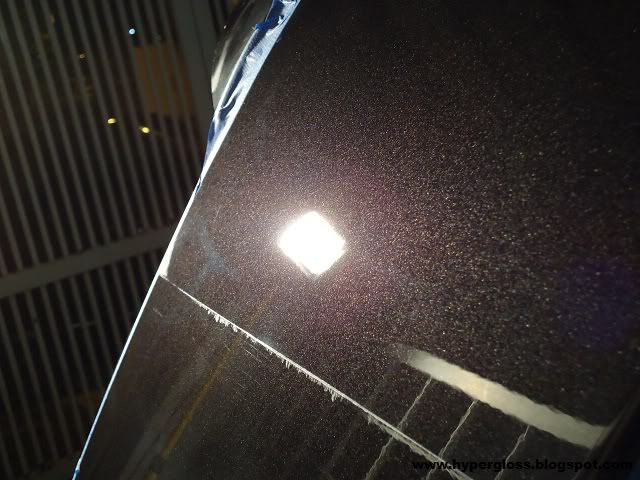
I spent the night with this car till 11pm and i decided to take a nap. The next morning the car was finished with Flex to remove all holograms and then protected with Opti-Seal & OCW all around. Once again, credits goes to Seech for lending me his power tool.
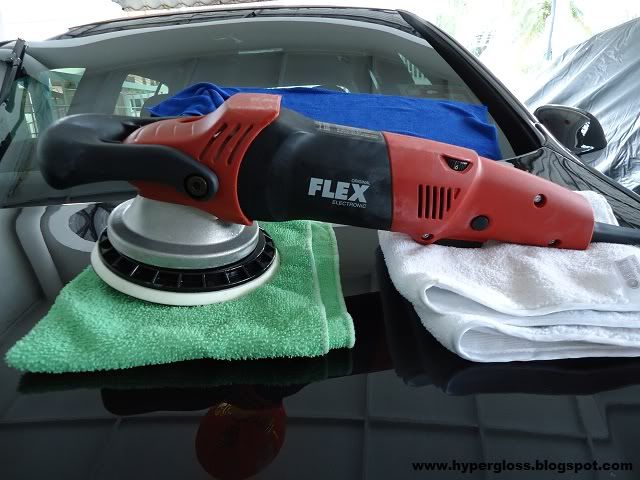
final inspection..
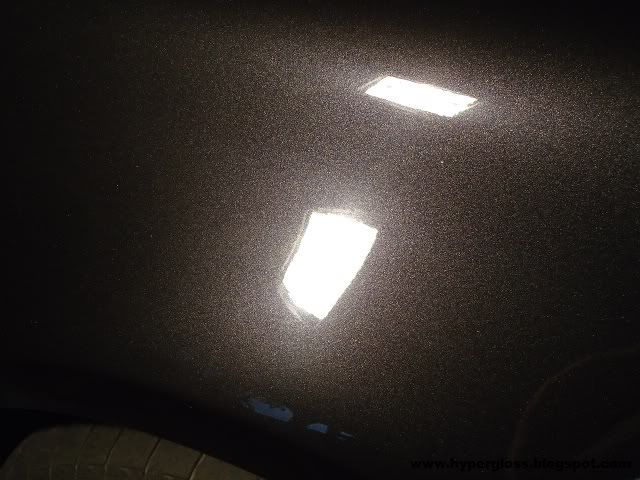
hood all good
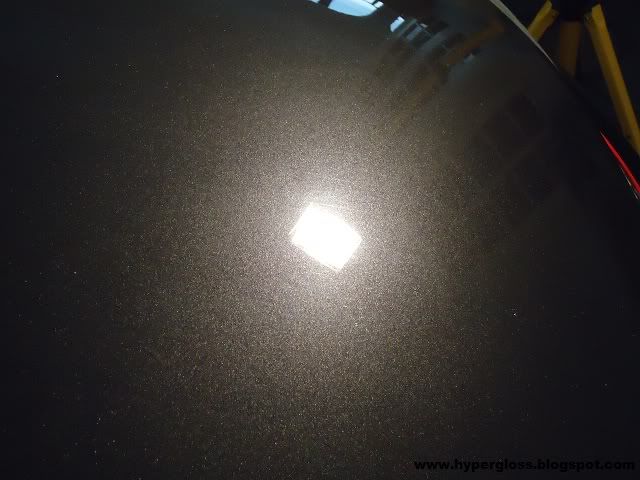
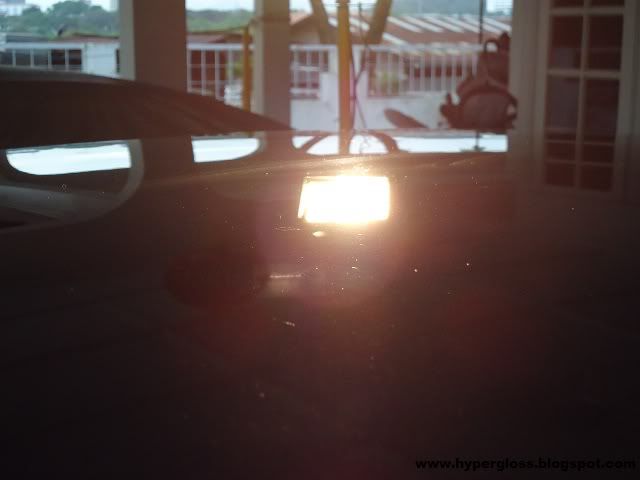
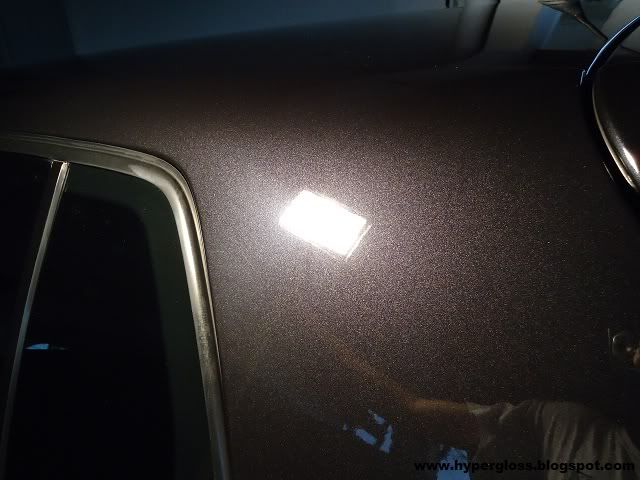
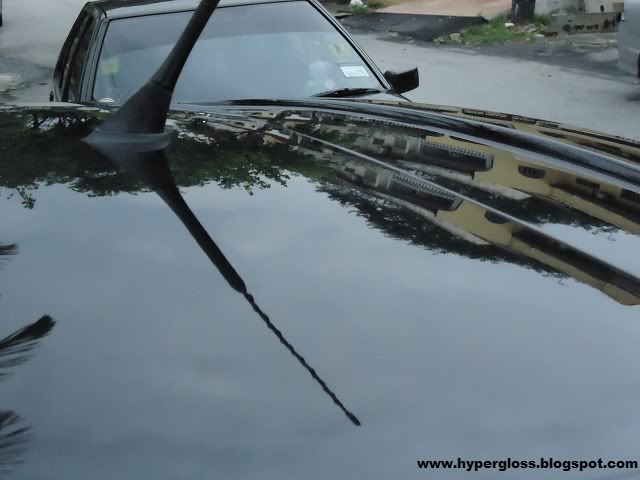
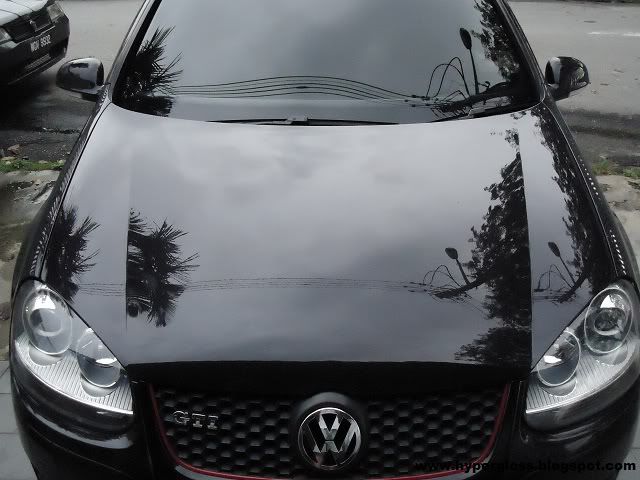
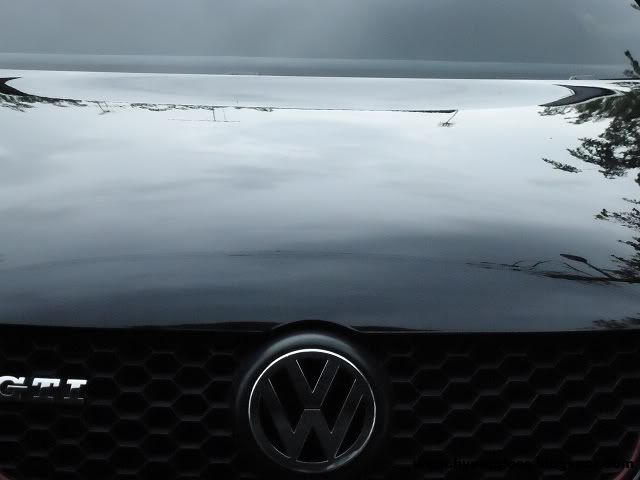
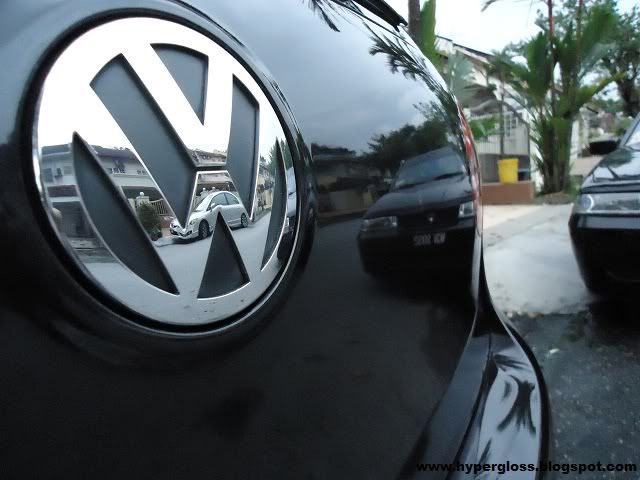
Some finishing shots, enjoy!
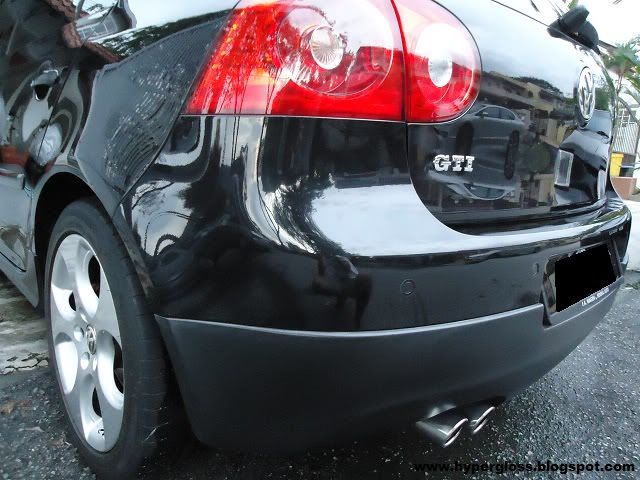
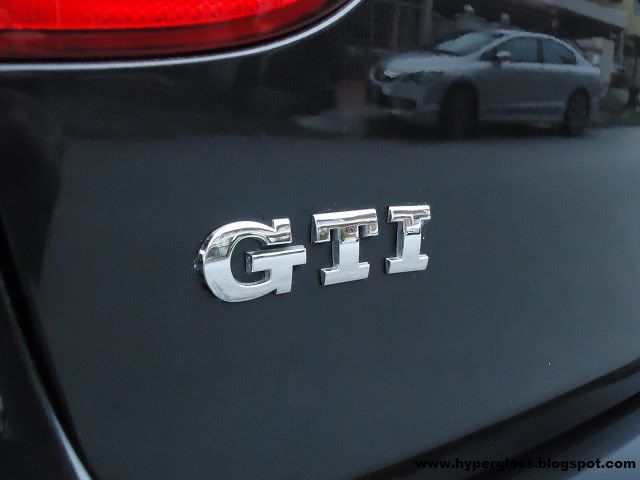
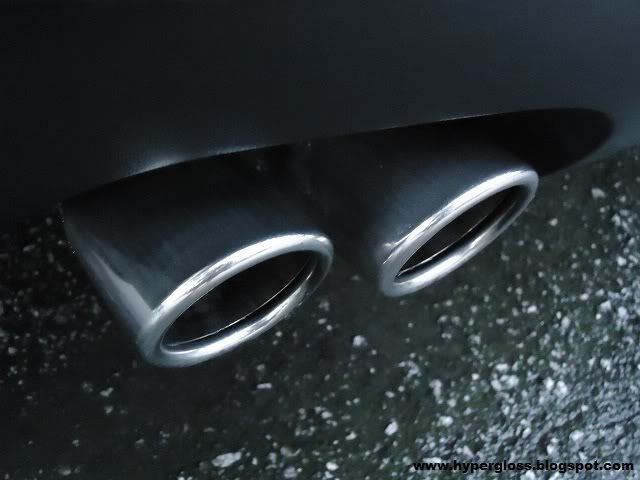
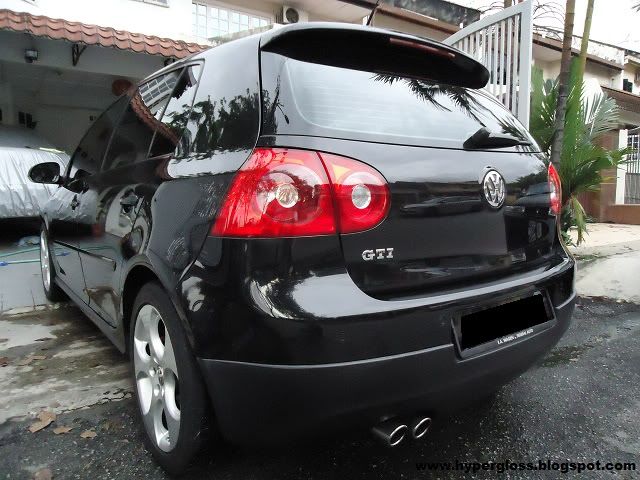
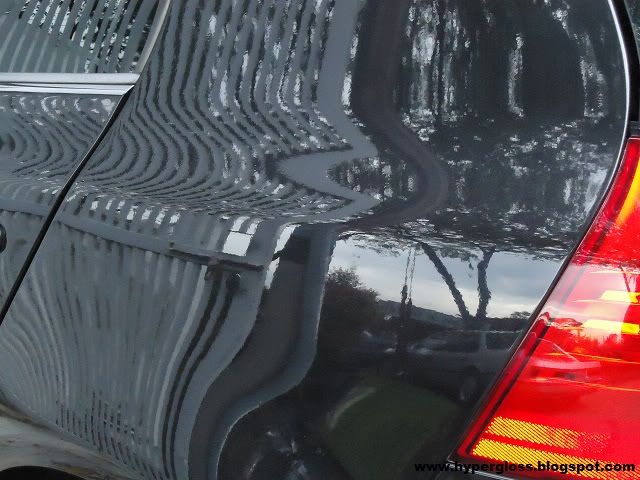
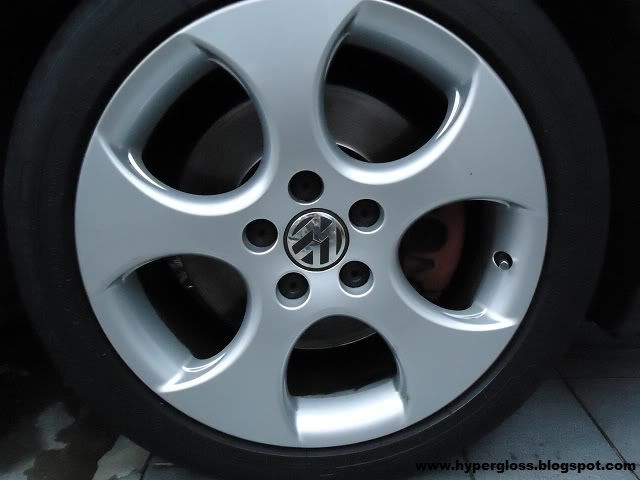
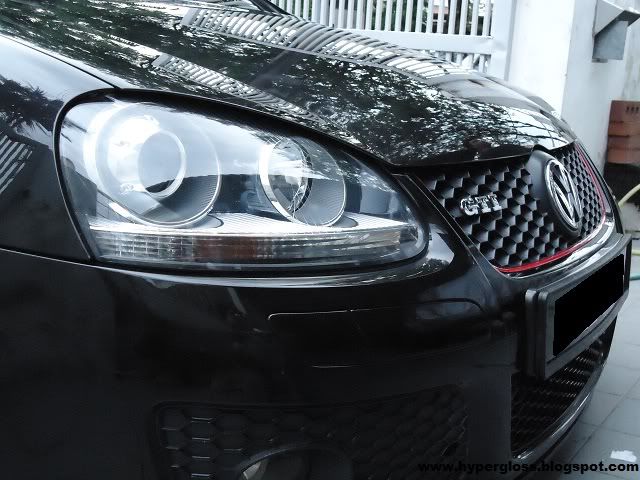
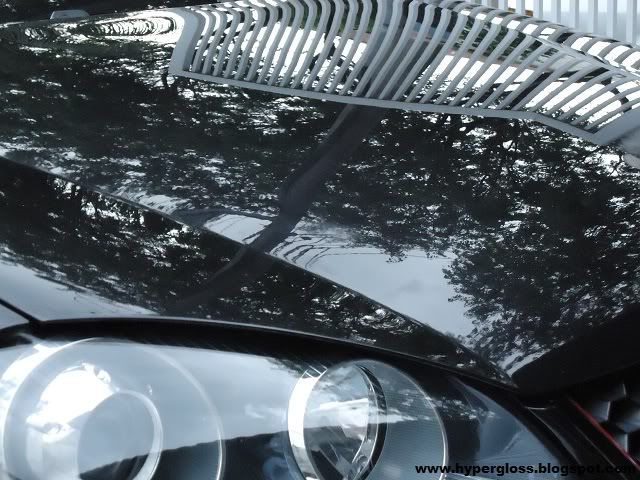
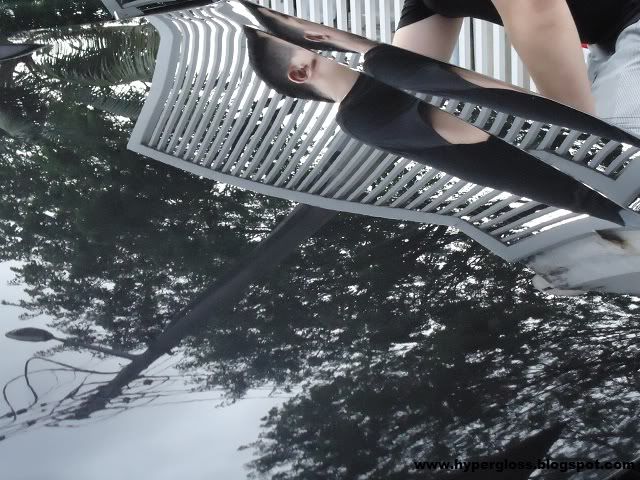
front grill cleaned and protected with OLP
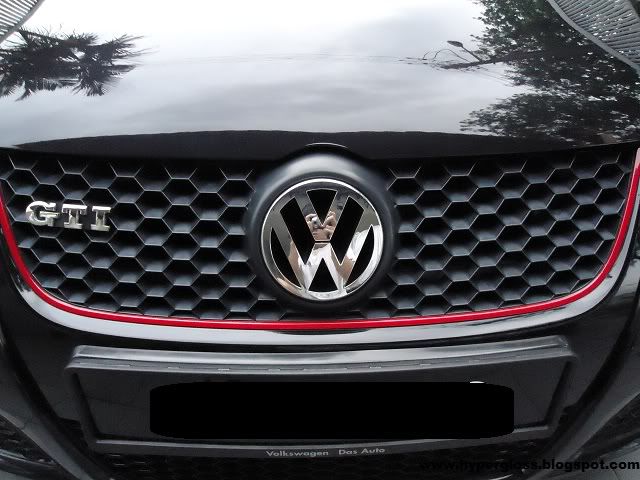
same
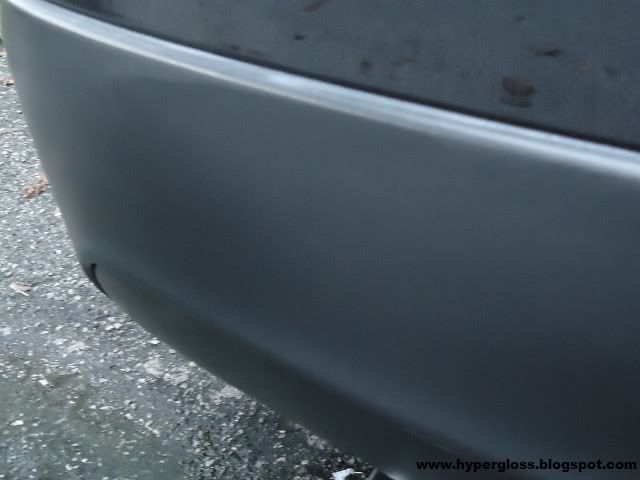
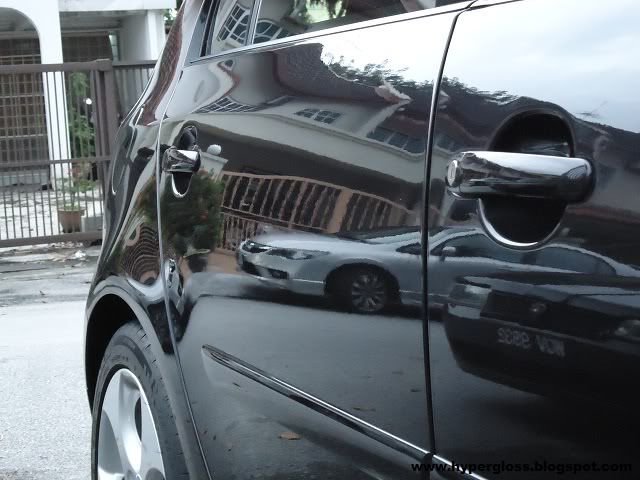
Thanks for reading.
skip to main |
skip to sidebar
Copyright © 2011 My Detailing Art | Powered by Blogger

