


Good evening,
this golf i coated a month ago, and finally have the time to blog. previously this car owned by a lady owner who use to pick up her child from school, mileage only runs about 26k in 3 years. basically this car can say is still new but still i found alot of defects on it. the interior, dashboard and leather seats also found very oily meanwhile the exterior full of swirls and water spots. whole process will took me quite some time to get it done, let the pictures do the talking.
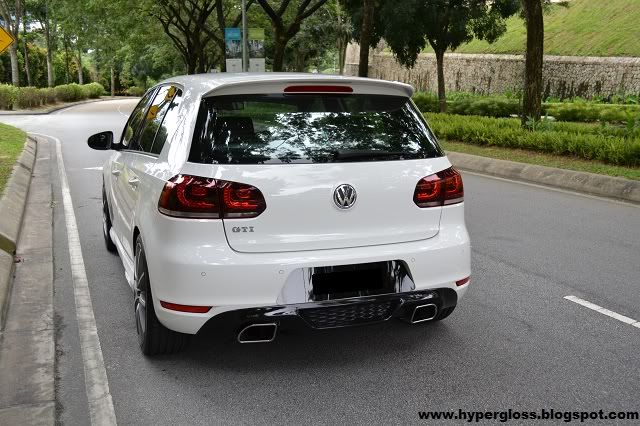
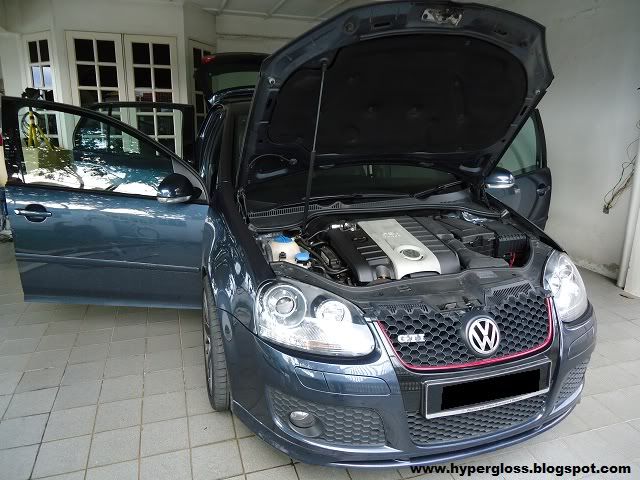
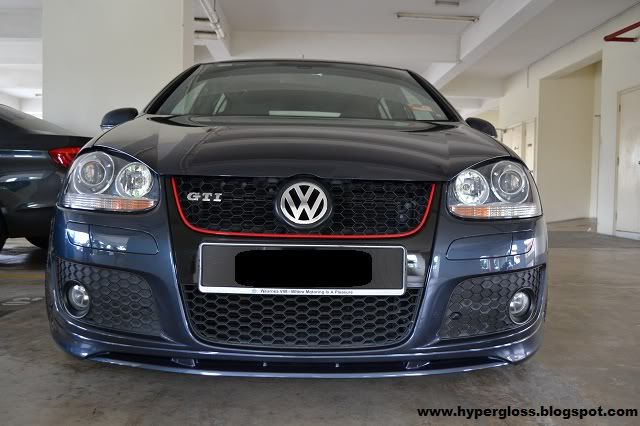
upon arrival

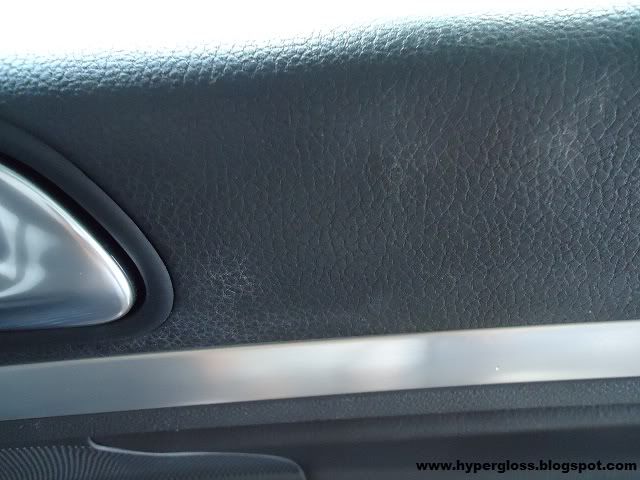
interior
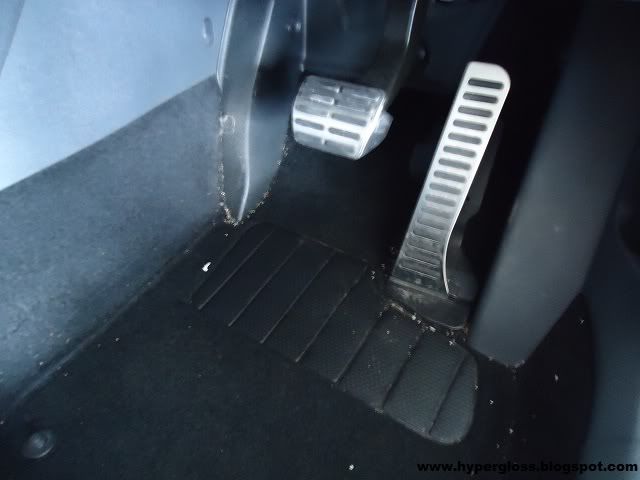
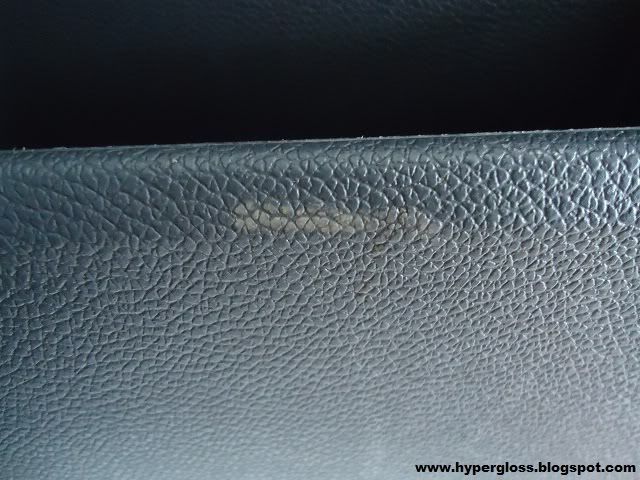
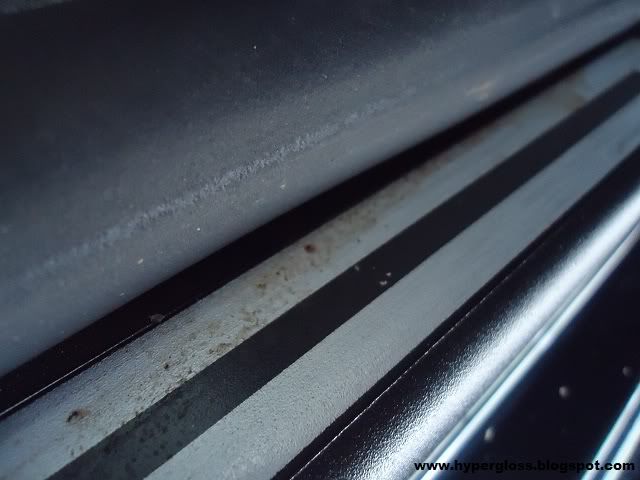
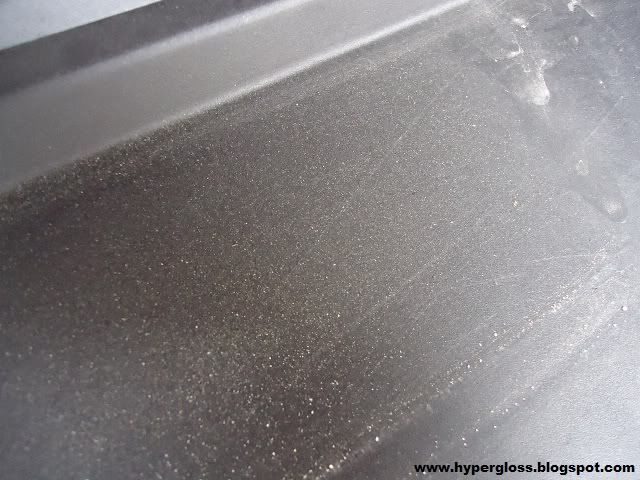
stain
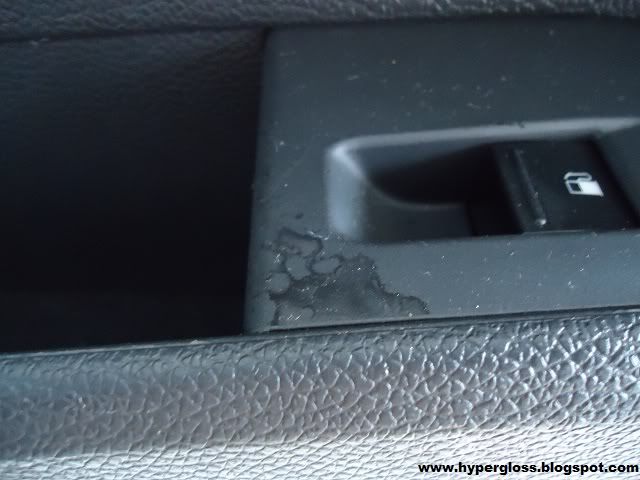
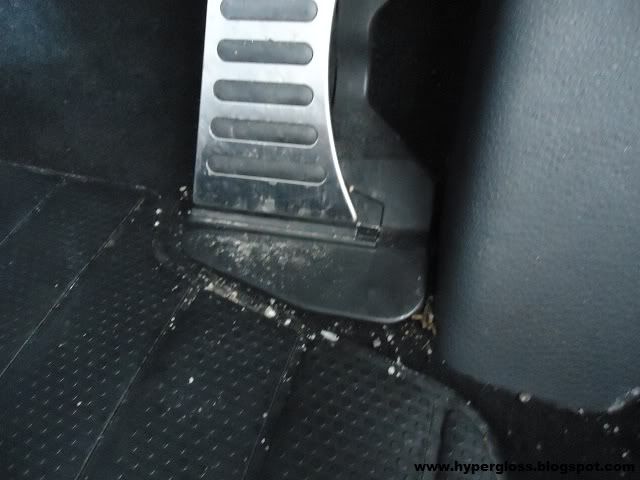
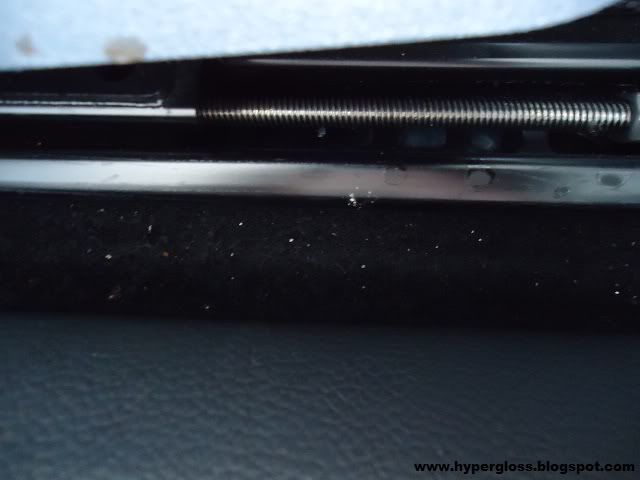
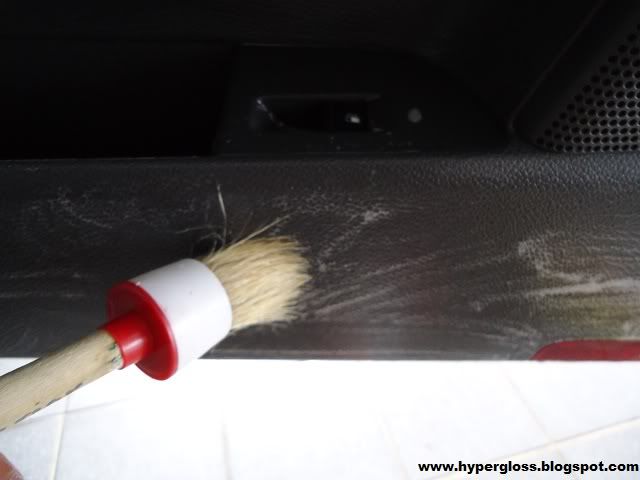
dust found
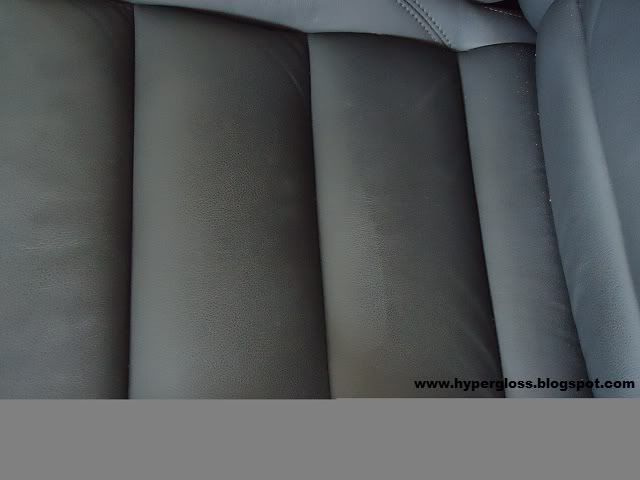
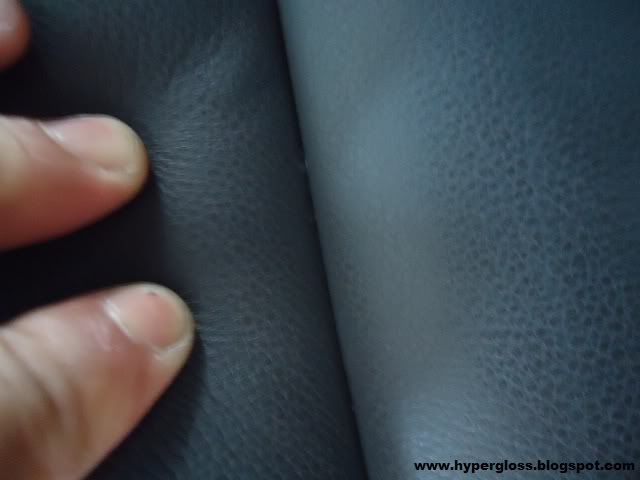
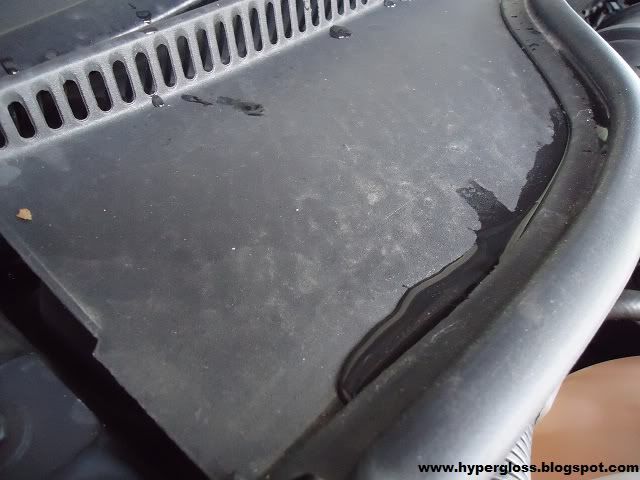
dirt and oil on leather
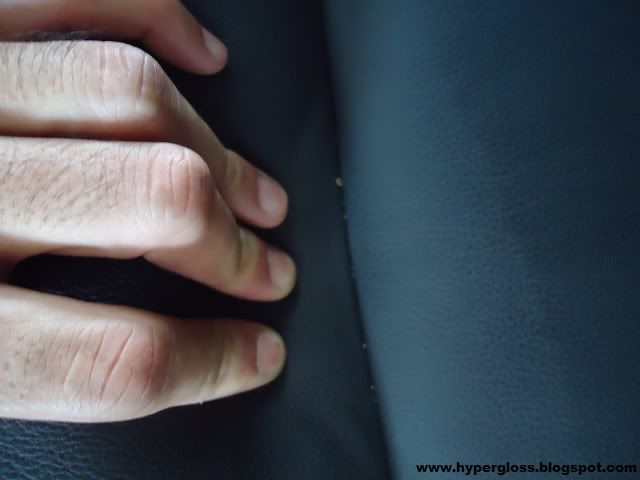
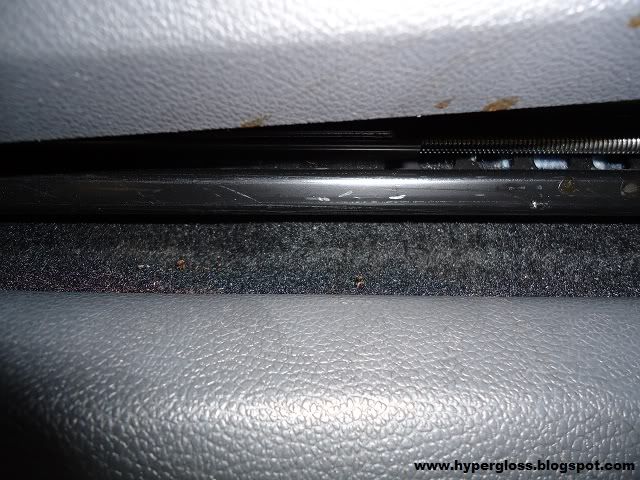
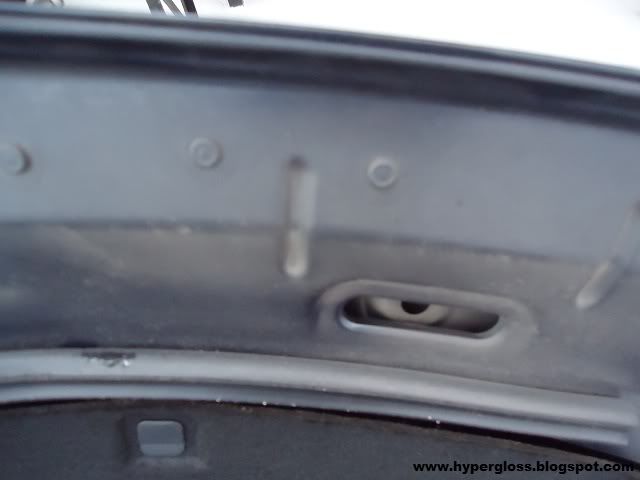
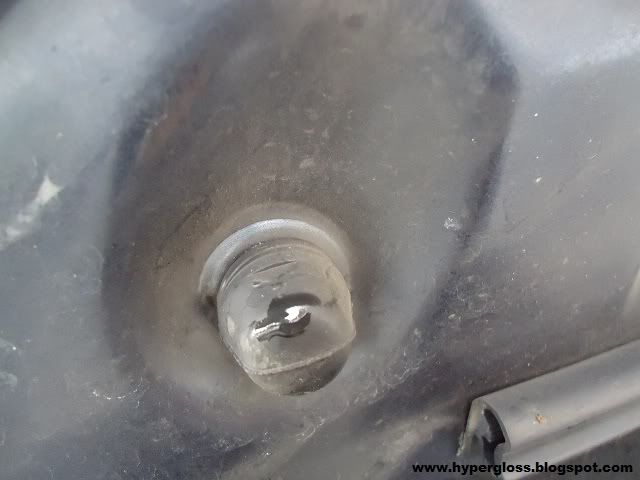
hidden treasure
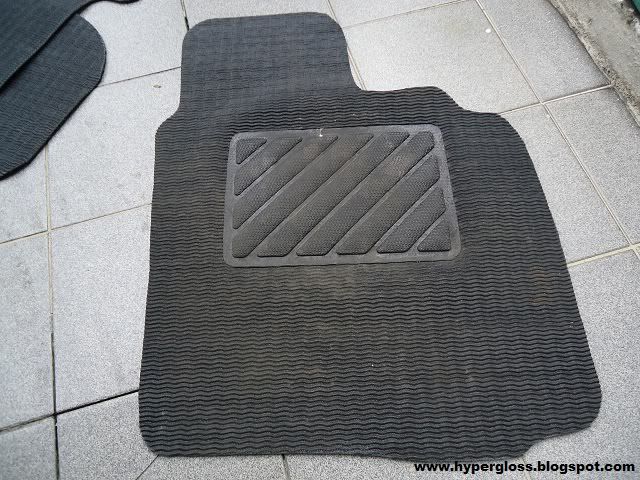
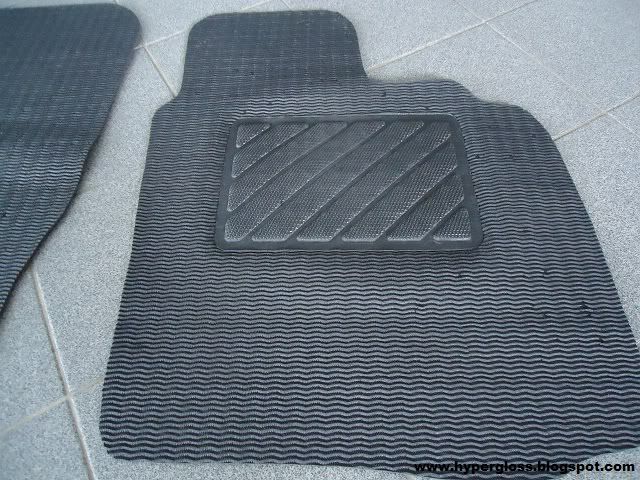
cleaning process start with the carpet first
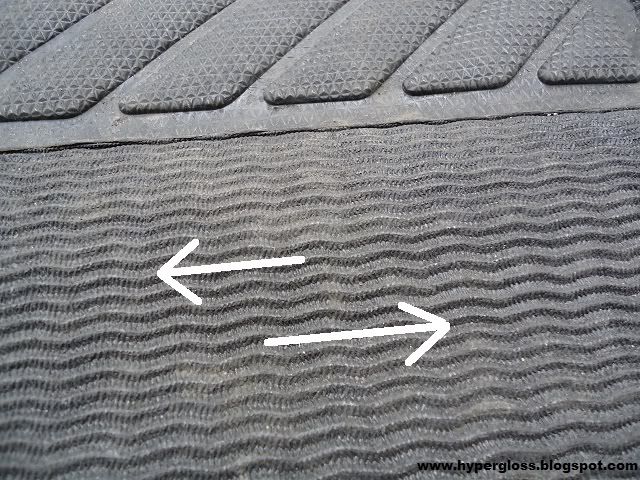
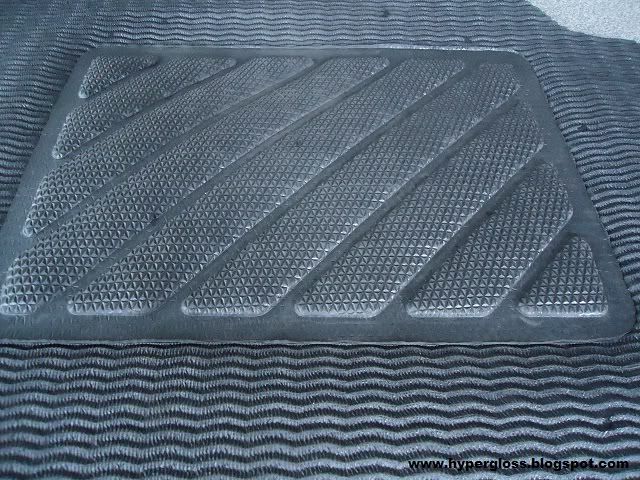
remember! dont fight against the lining
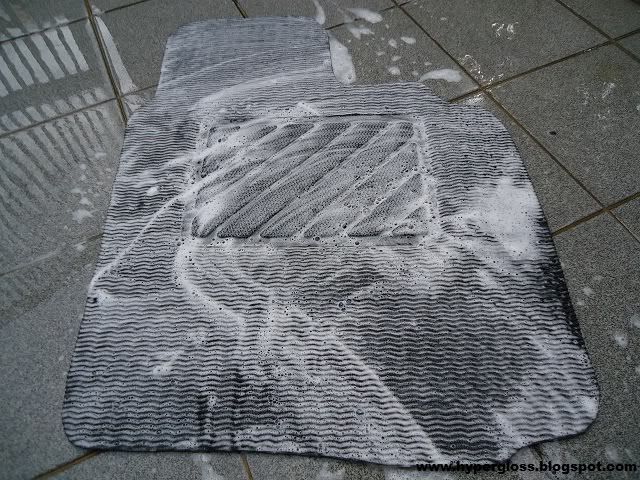
OPC diluted 1:1 to brush
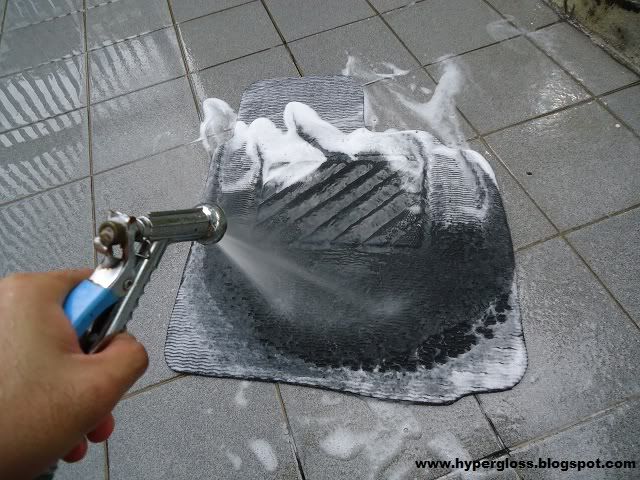
rinse off immediately
after
stain?
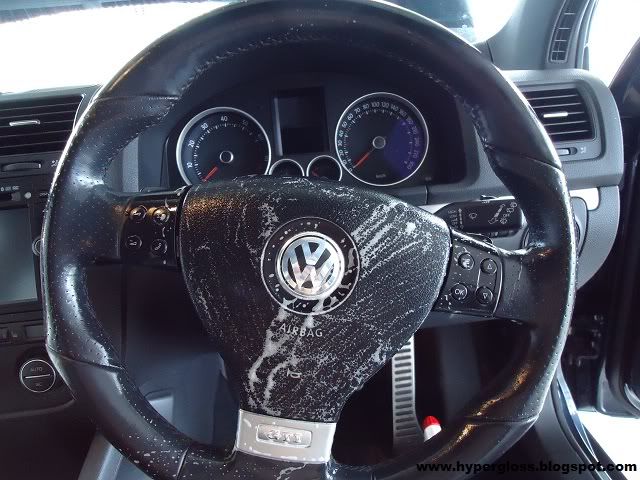
the only cleaner you need in maintaining your daily drive. OPC brushing
after
doorstep before
after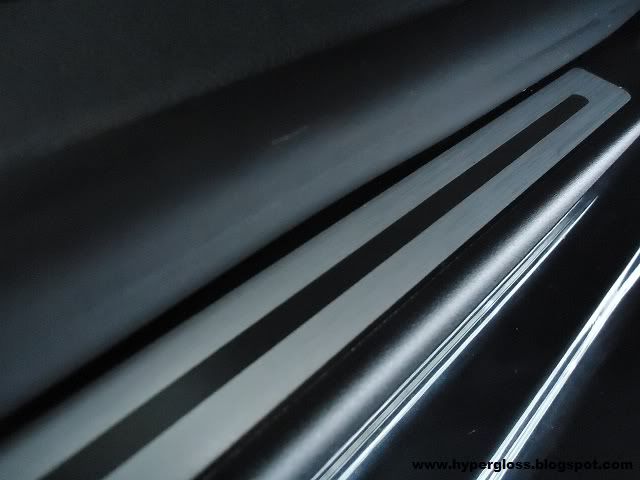
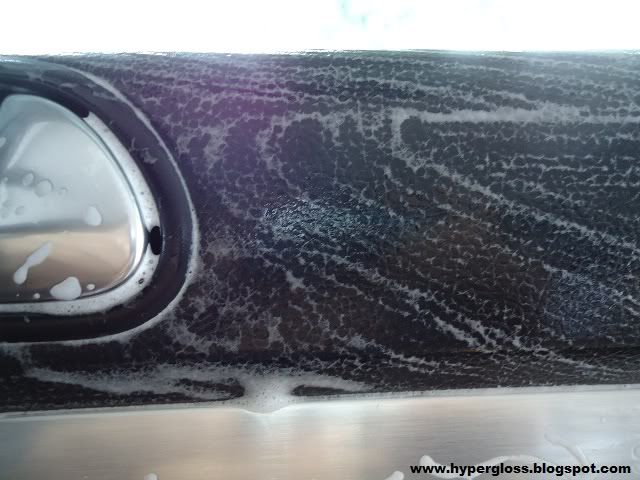
before
during process
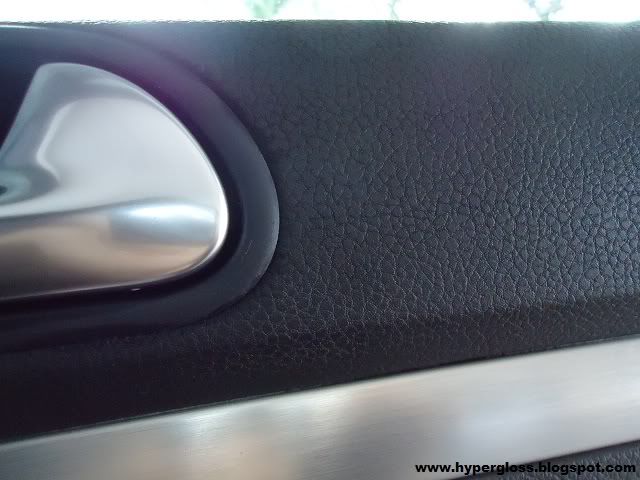
after
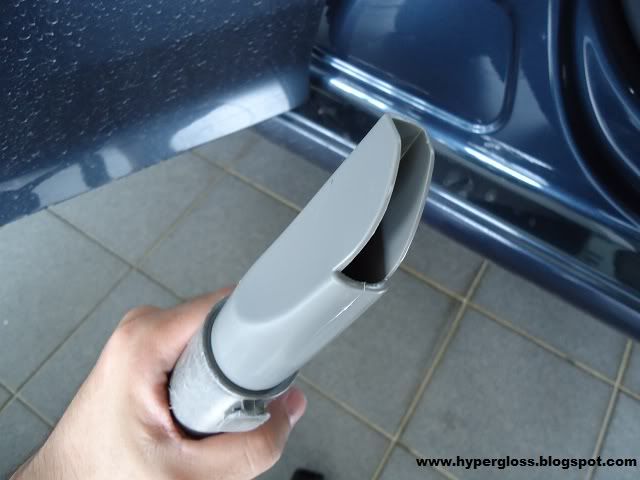
moving to vacuum process
good to use for hard reach area
after
before
after
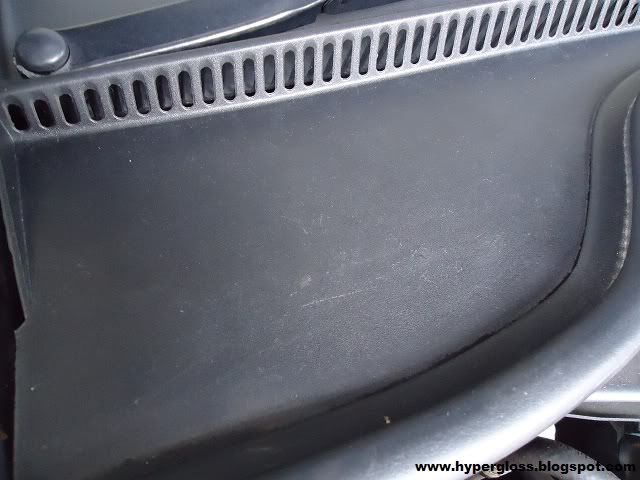
moving to dashboard and door panel cleaning
this bucket of water is for rinsing purpose for the interior
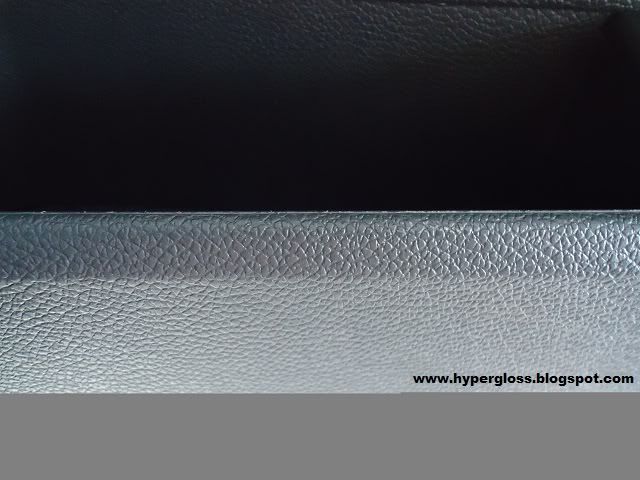
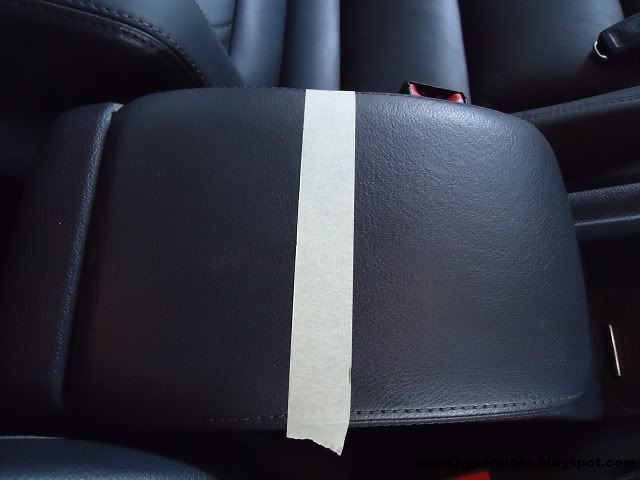
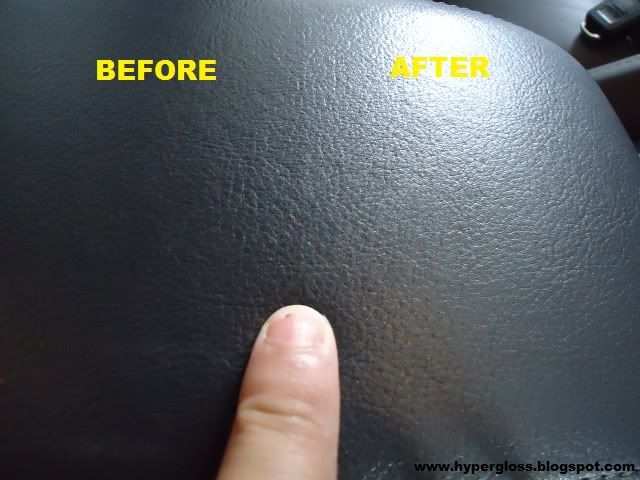
leather seat cleaning. tape it and lets see what we can find
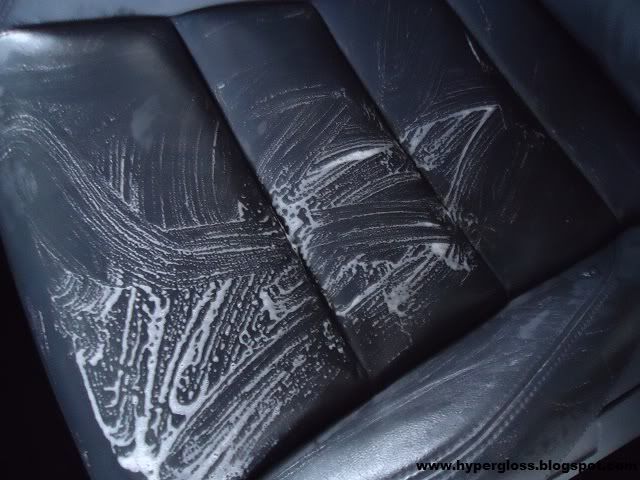
opc diluted 1:4
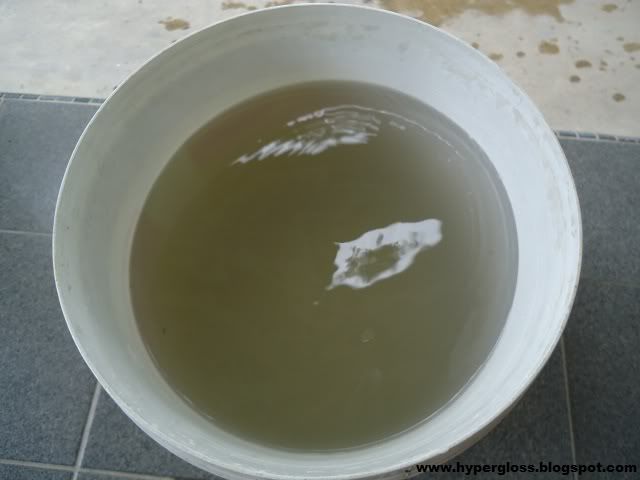
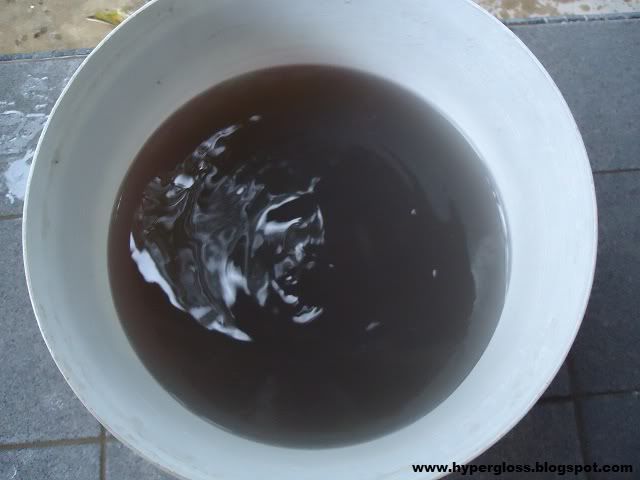
bucket of water for rinsing the leather seats. can you imagine?
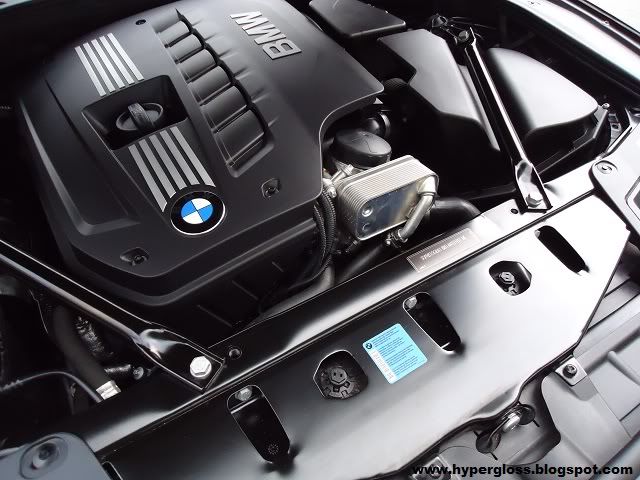
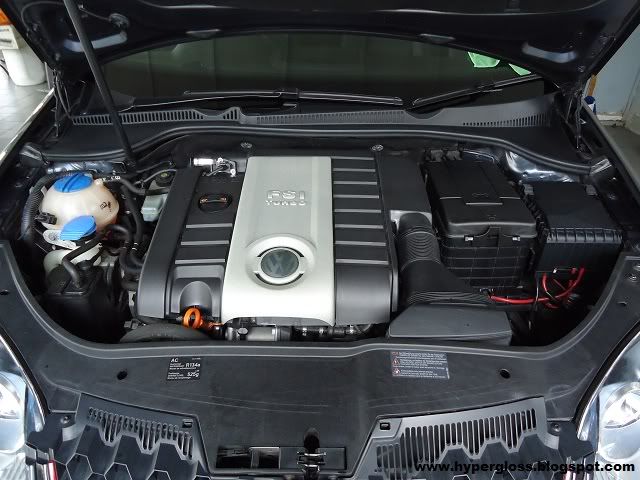
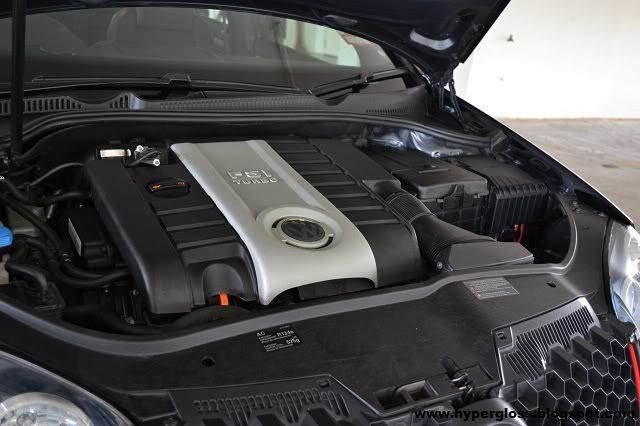
moving to engine
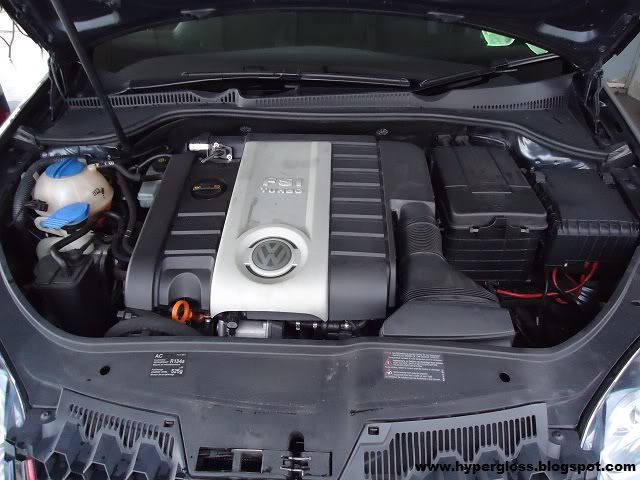
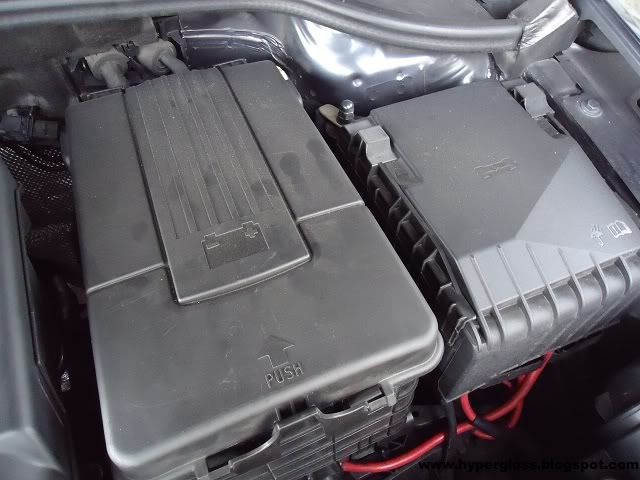
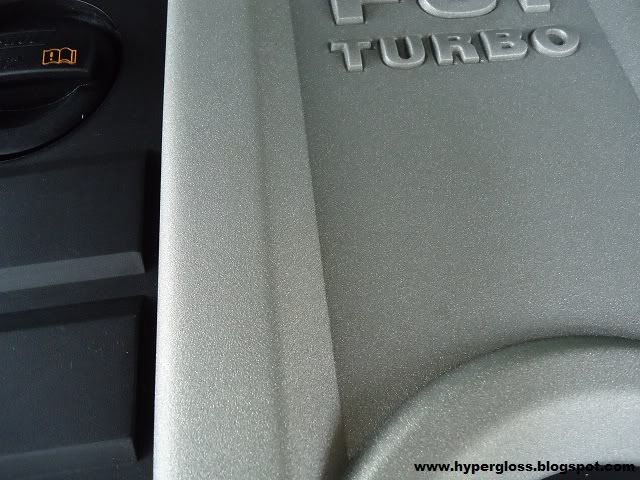
close up
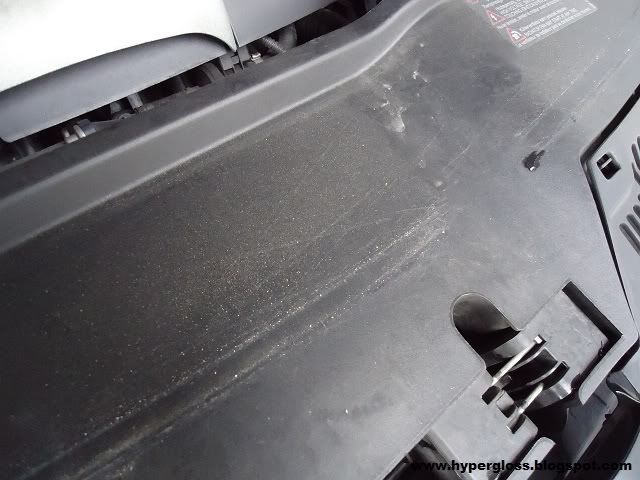
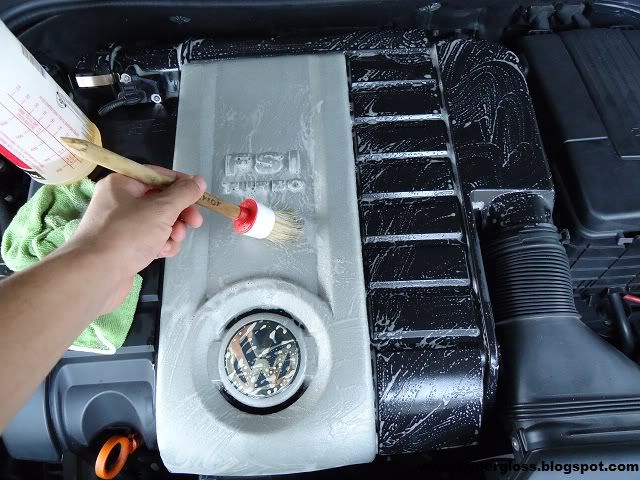
dont just keep looking the pictures, lets start cleaning the engine. OPC carry out again 1:3

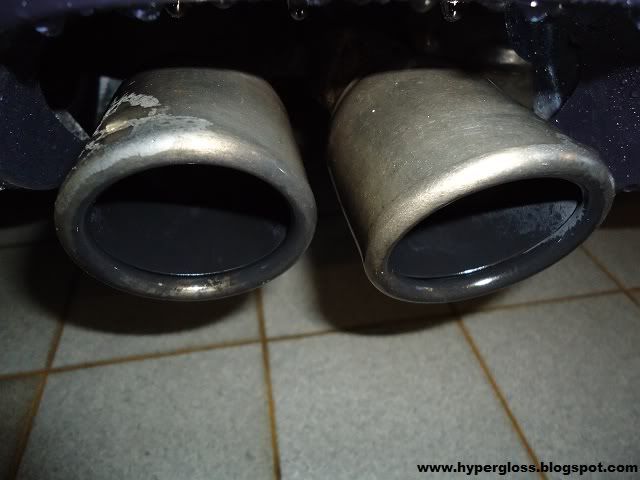
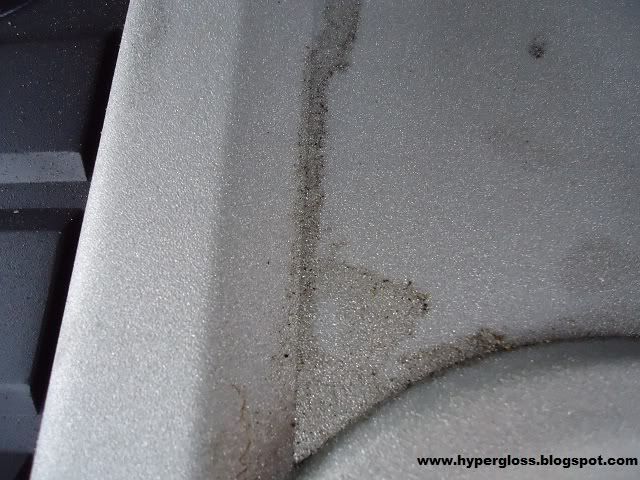
before
after
before
now

before cleaning
after cleaning without protectant
2nd day, ONR to wash and inspect defects..
found plenty of wax residue
after
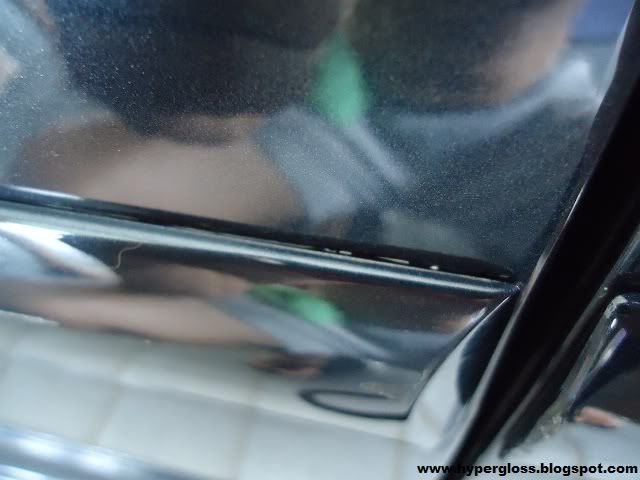
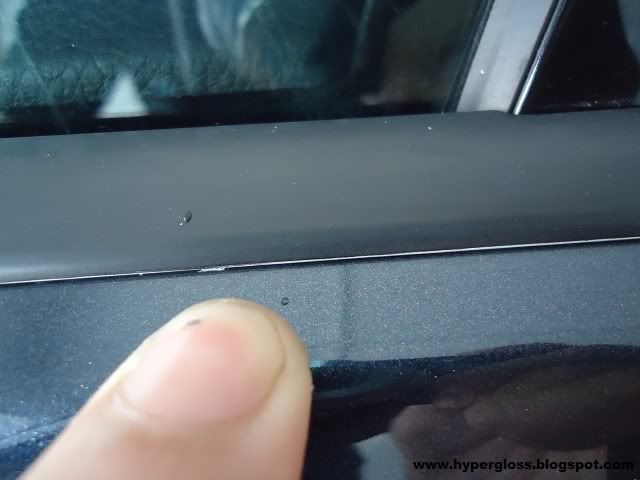
door side

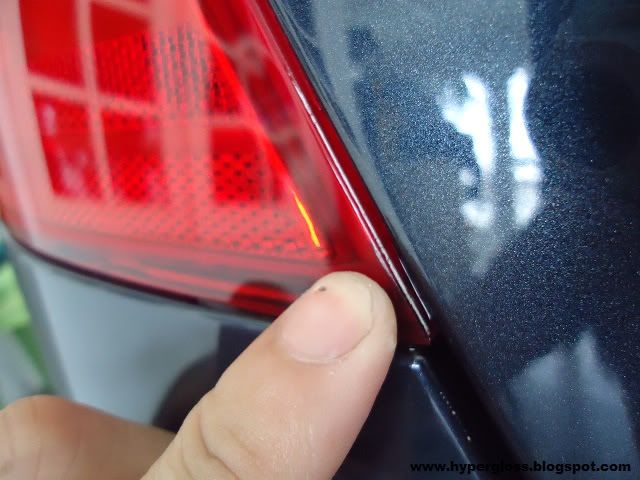
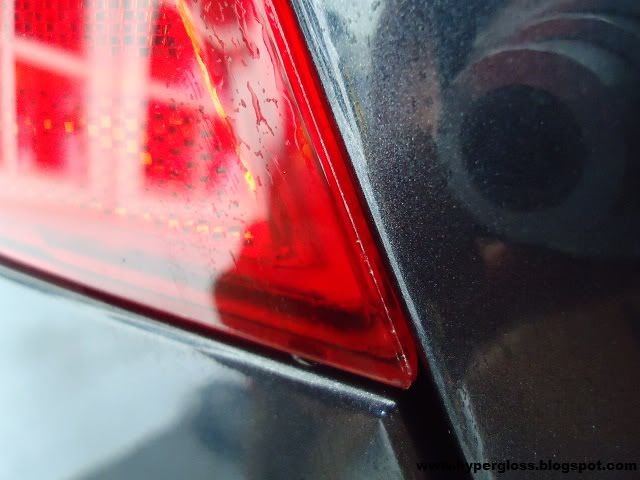
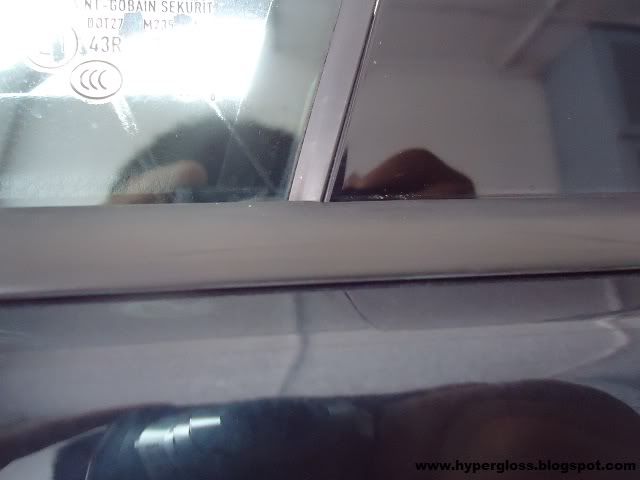
rear light side gap
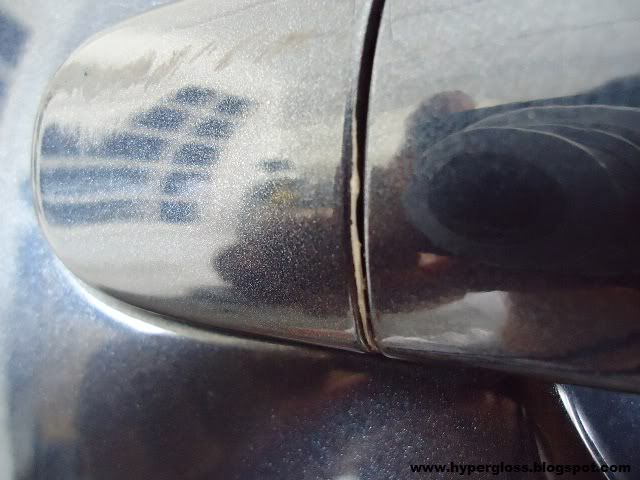
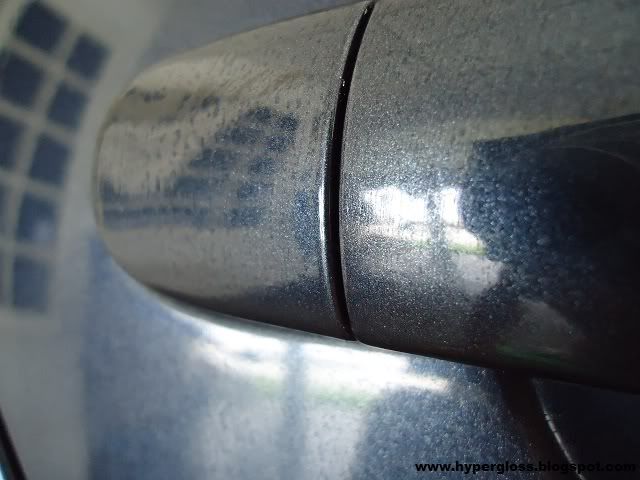
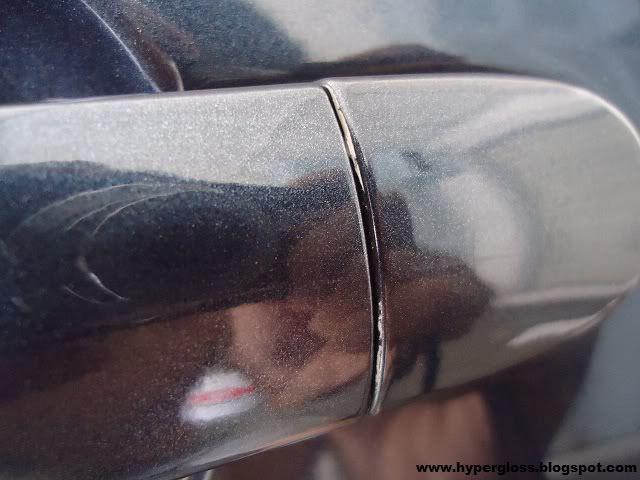
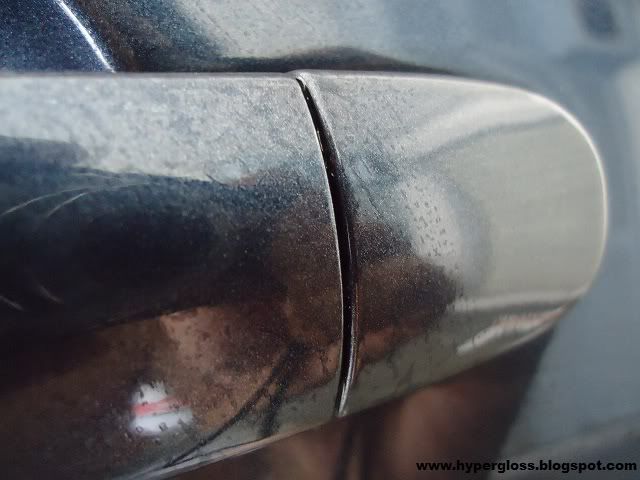
door handle
tight area was clean with a toothpick
all these resides mostly done by roadside waxing or used car dealer prior sending to the owner.
how it happens?
1. fast job
2. wax diluted with water
3. towel full of wax
4. drive thru (if you know what i mean)
5. didnt inspect after wax
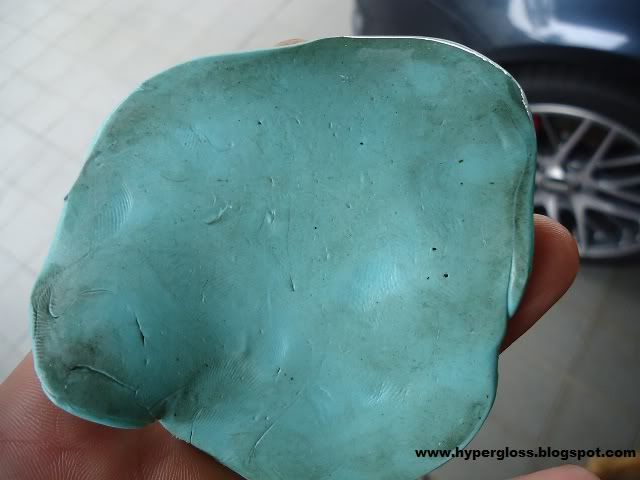
moving to surface preparation..
clay
paint correction begin, tape all the necessary area to avoid compound dust/splatter (save your time for the compound job)
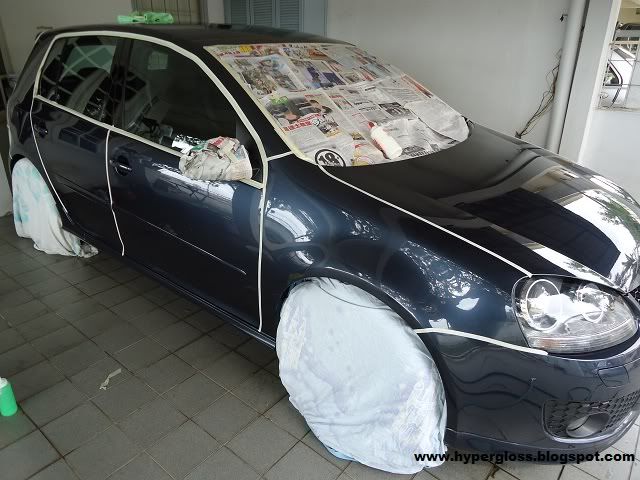
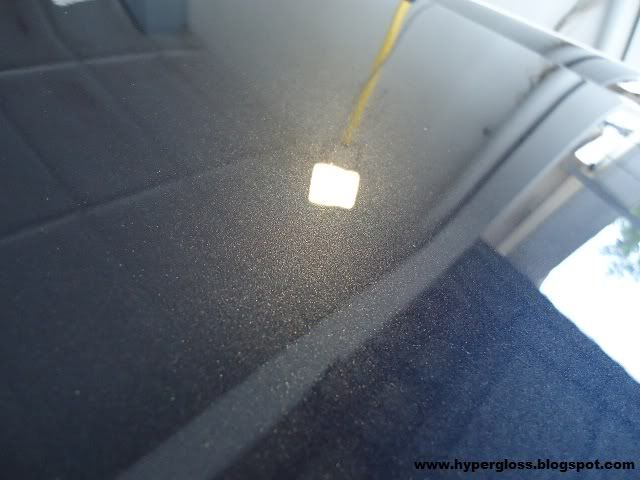
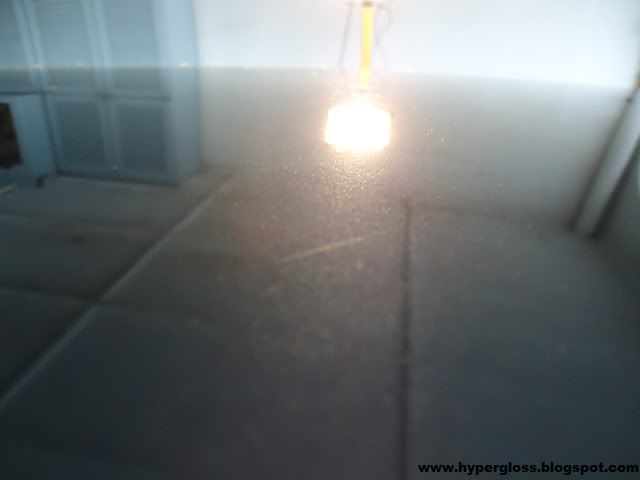
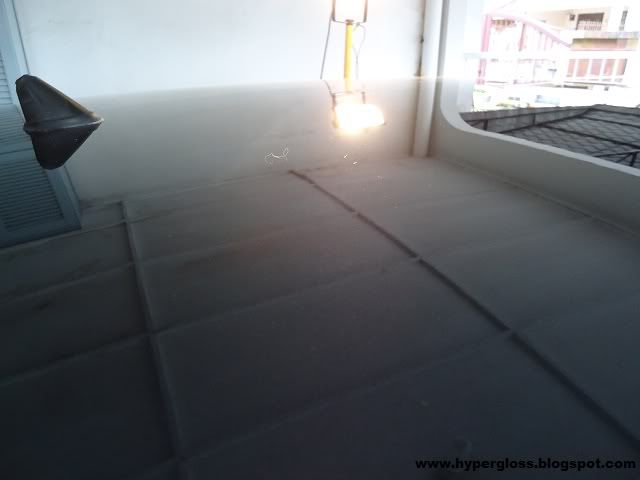
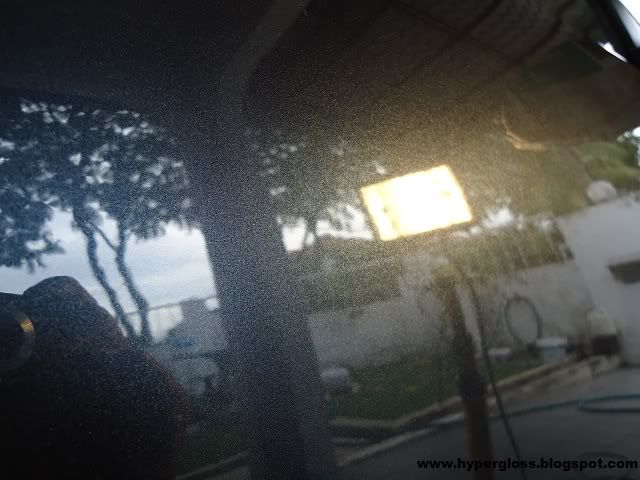
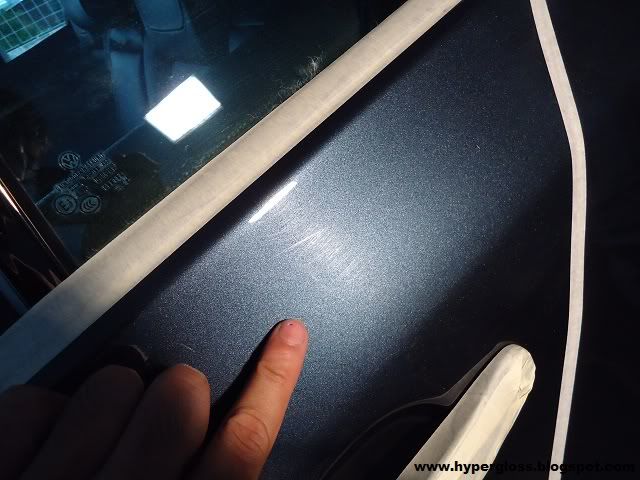
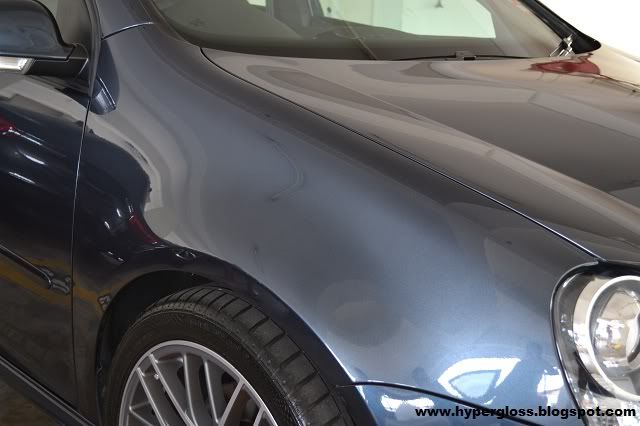
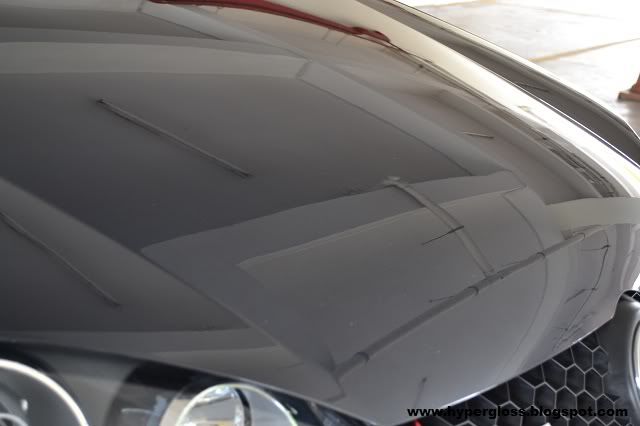
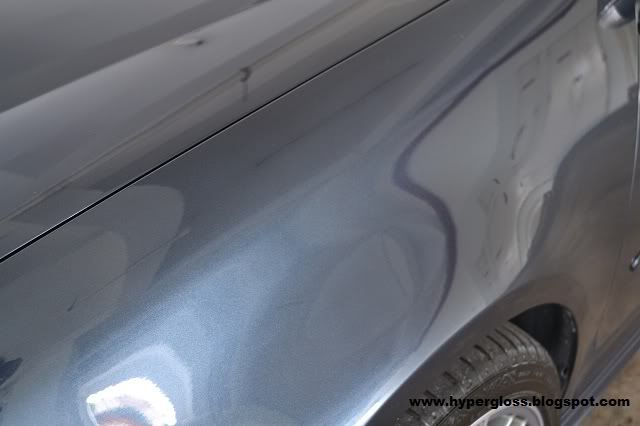
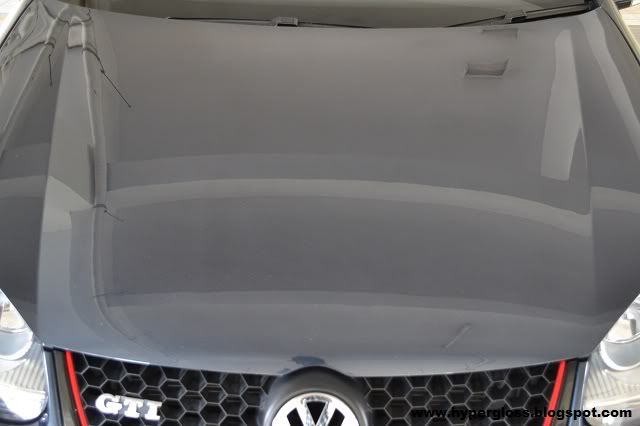
hood found swirls aka spider web
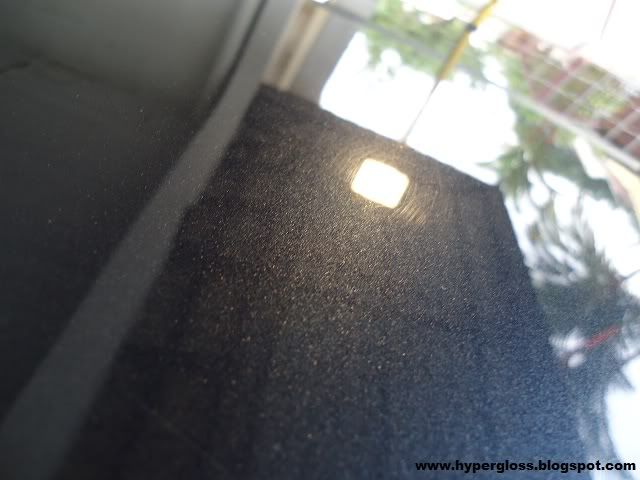
50/50
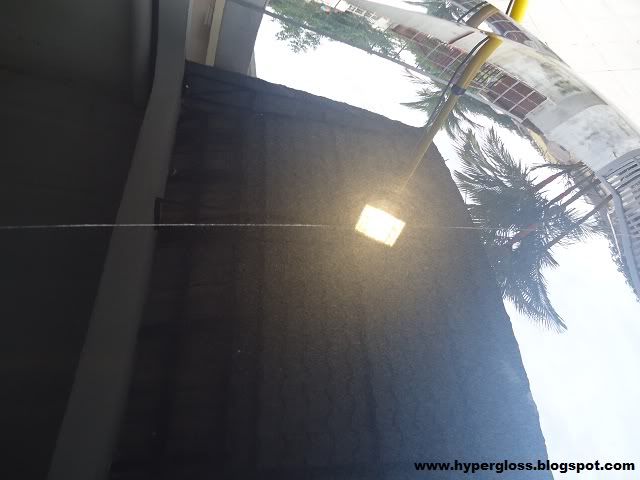
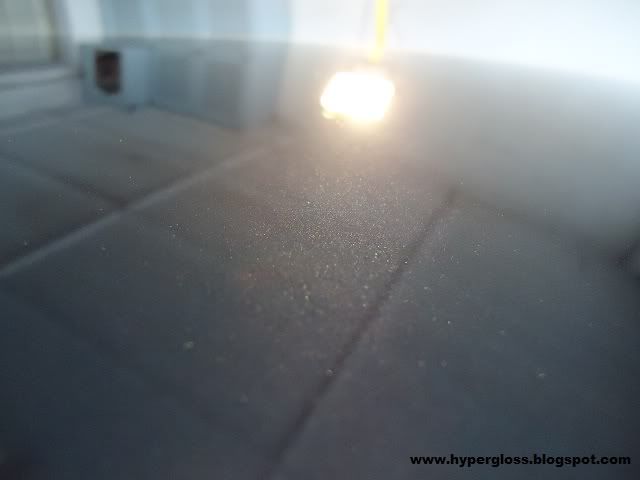
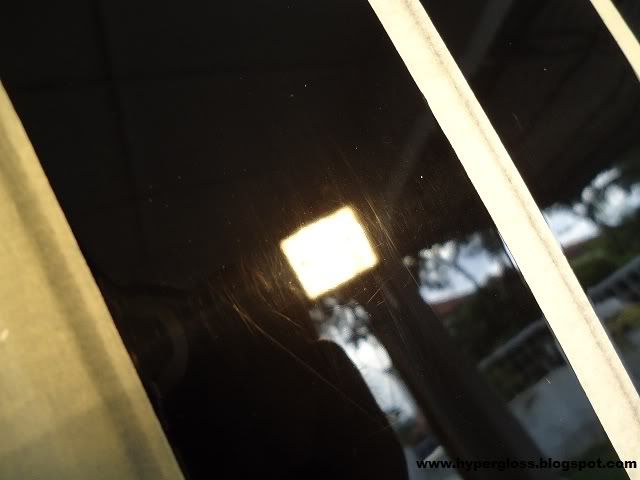
after
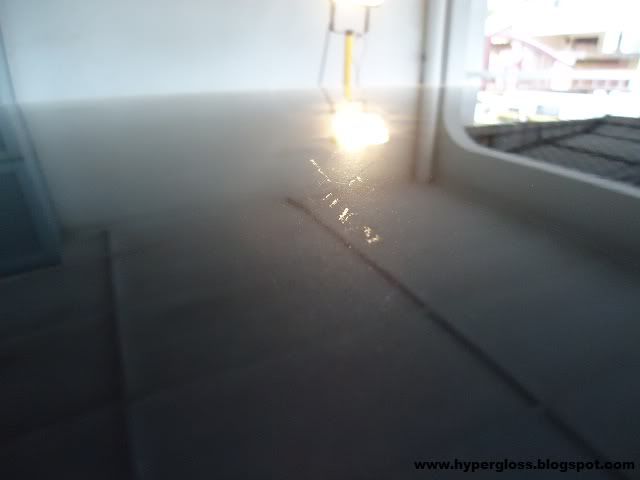
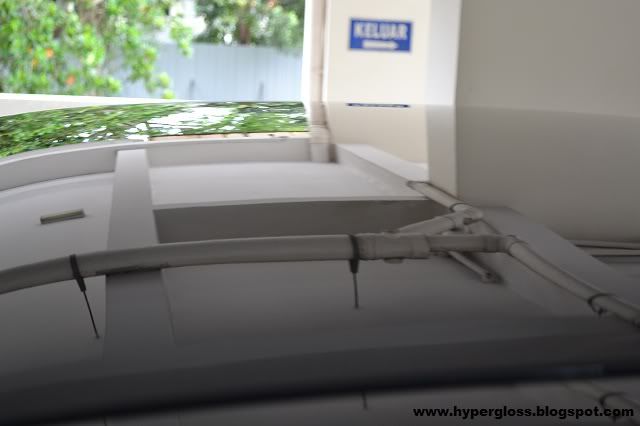
roof RIDS before
after
after
door after
A pillar before
now
before
after

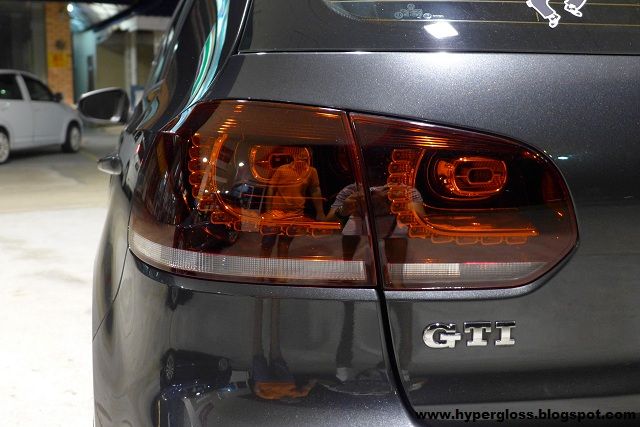
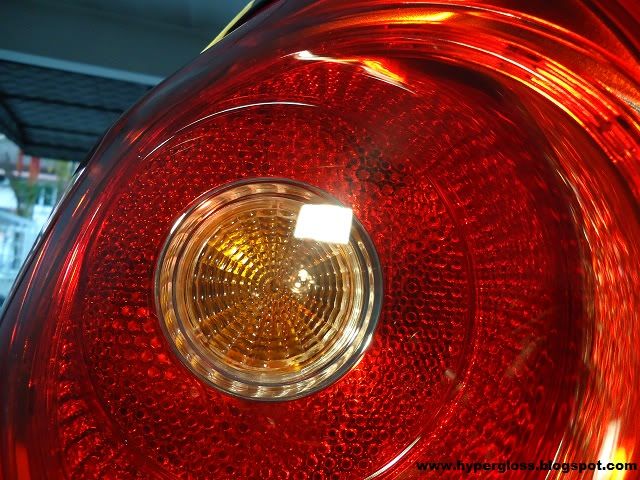
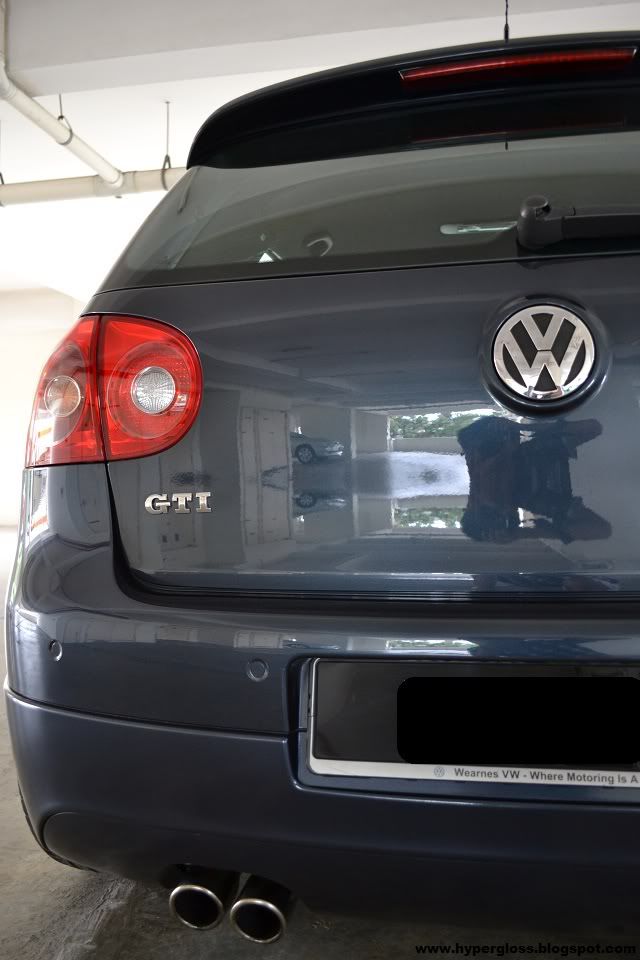
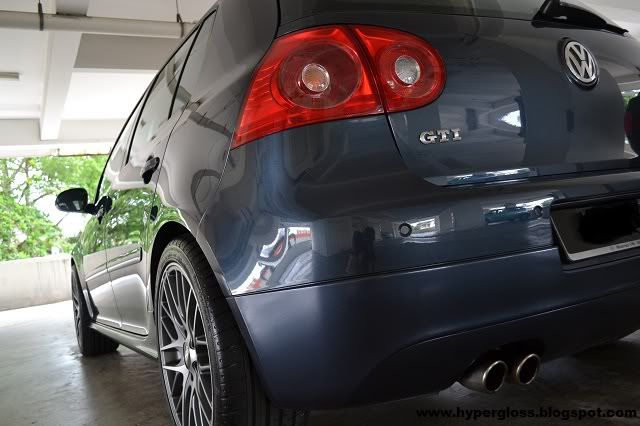
rear light before

now
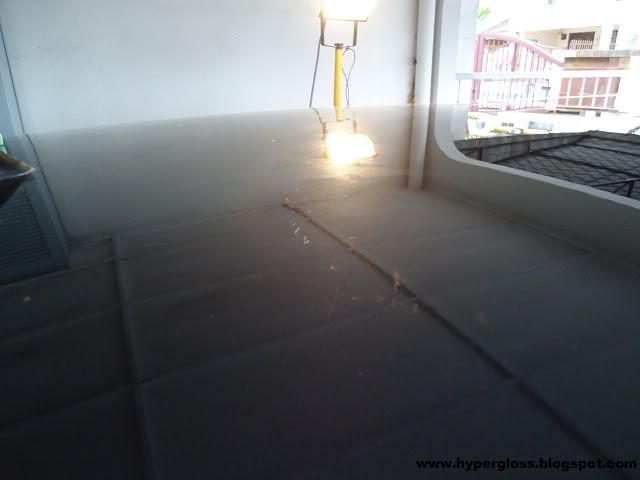
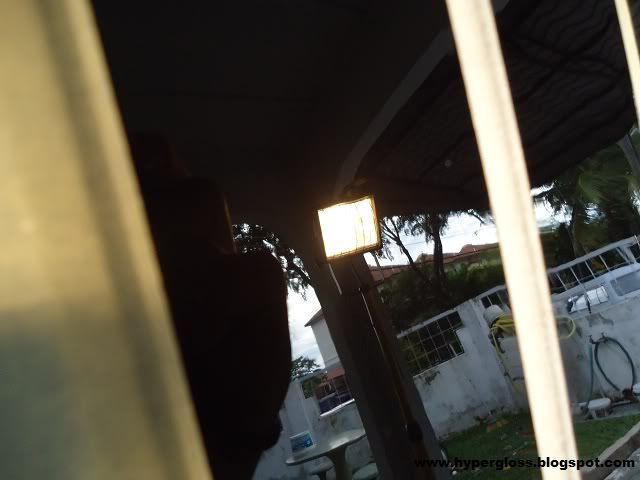
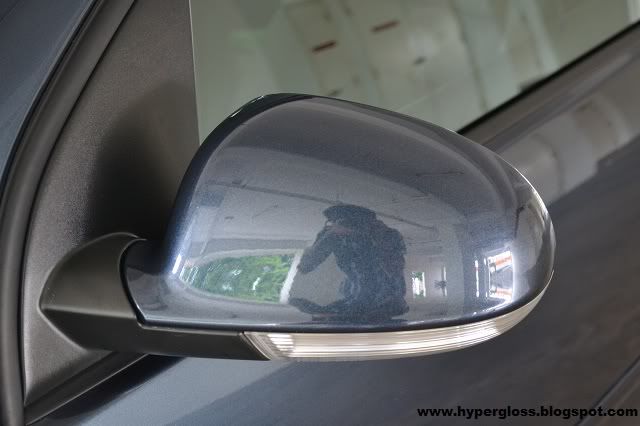
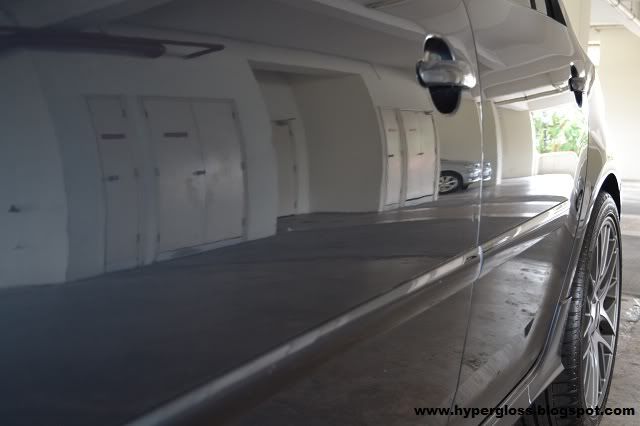
as usual i will dilute 15% of IPA (Isopropyl Alcohol) to remove any existing polish oil, silicone etc prior coating. some of the pictures after spending 3hours to coat it.


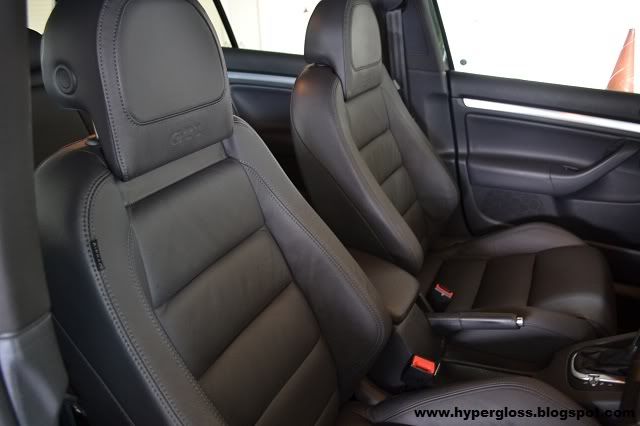
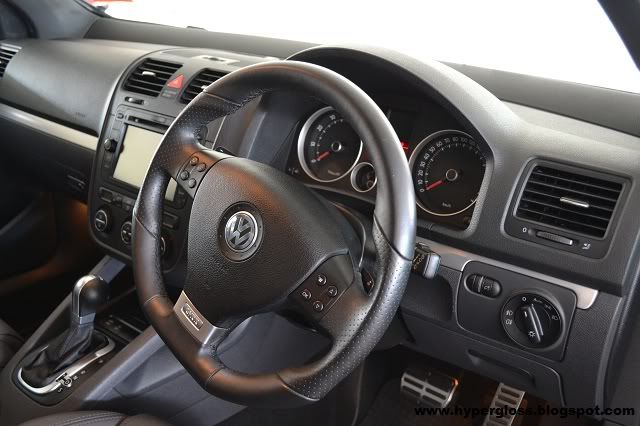
interior
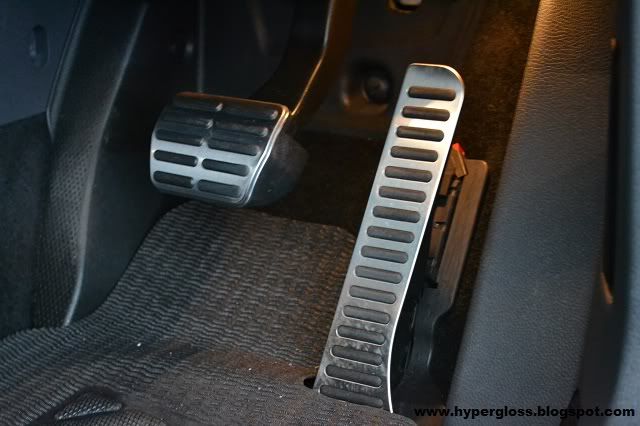
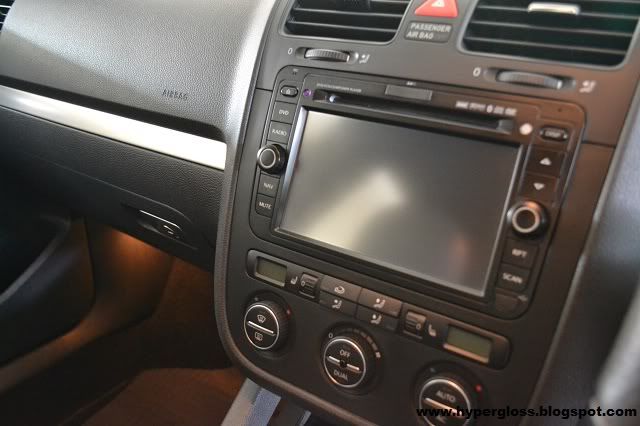
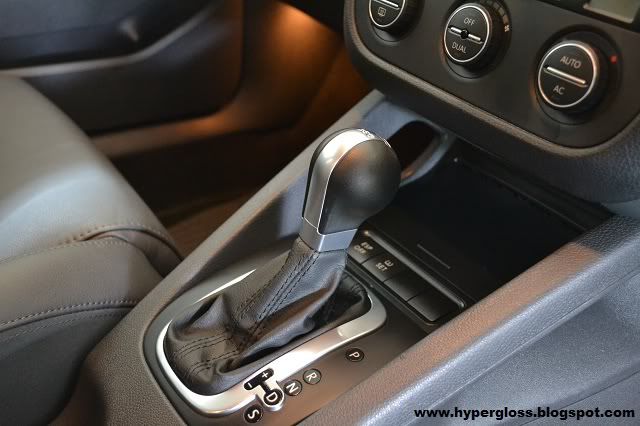
thanks for viewing.
this golf i coated a month ago, and finally have the time to blog. previously this car owned by a lady owner who use to pick up her child from school, mileage only runs about 26k in 3 years. basically this car can say is still new but still i found alot of defects on it. the interior, dashboard and leather seats also found very oily meanwhile the exterior full of swirls and water spots. whole process will took me quite some time to get it done, let the pictures do the talking.
upon arrival


interior


stain


dust found


dirt and oil on leather

hidden treasure

cleaning process start with the carpet first

remember! dont fight against the lining

OPC diluted 1:1 to brush

rinse off immediately

after


stain?
the only cleaner you need in maintaining your daily drive. OPC brushing

after

doorstep before
after

before
during process

after

moving to vacuum process
good to use for hard reach area

after

before
after

moving to dashboard and door panel cleaning

this bucket of water is for rinsing purpose for the interior

leather seat cleaning. tape it and lets see what we can find

opc diluted 1:4


bucket of water for rinsing the leather seats. can you imagine?

moving to engine


close up


dont just keep looking the pictures, lets start cleaning the engine. OPC carry out again 1:3


before

after

before
now


before cleaning
after cleaning without protectant

2nd day, ONR to wash and inspect defects..
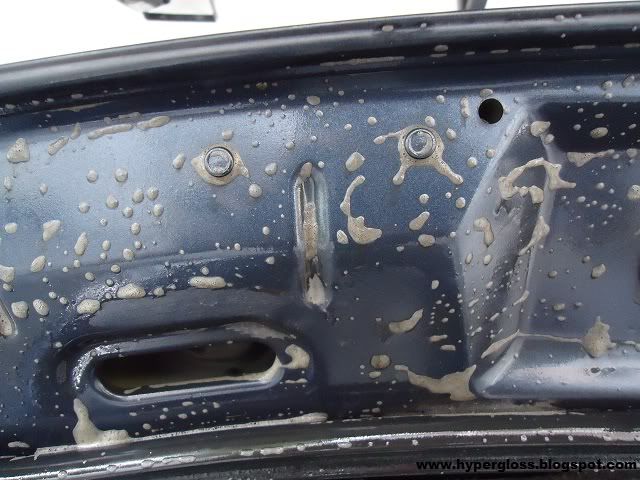
found plenty of wax residue

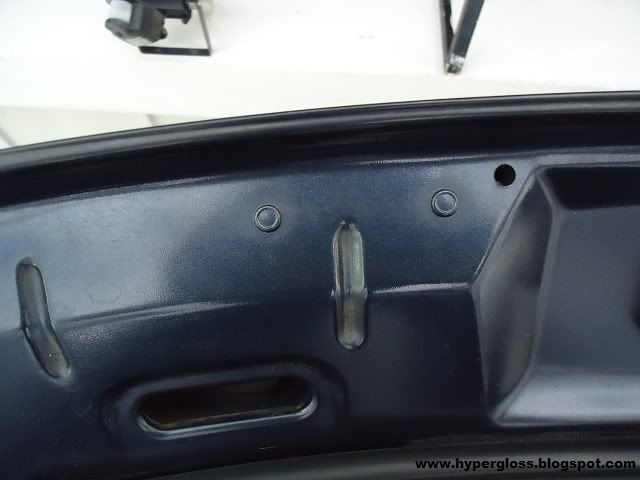
after

door side


rear light side gap


door handle


tight area was clean with a toothpick


all these resides mostly done by roadside waxing or used car dealer prior sending to the owner.
how it happens?
1. fast job
2. wax diluted with water
3. towel full of wax
4. drive thru (if you know what i mean)
5. didnt inspect after wax
moving to surface preparation..
clay

paint correction begin, tape all the necessary area to avoid compound dust/splatter (save your time for the compound job)

hood found swirls aka spider web

50/50

after

roof RIDS before

after


after

door after

A pillar before

now

before

after

rear light before

now

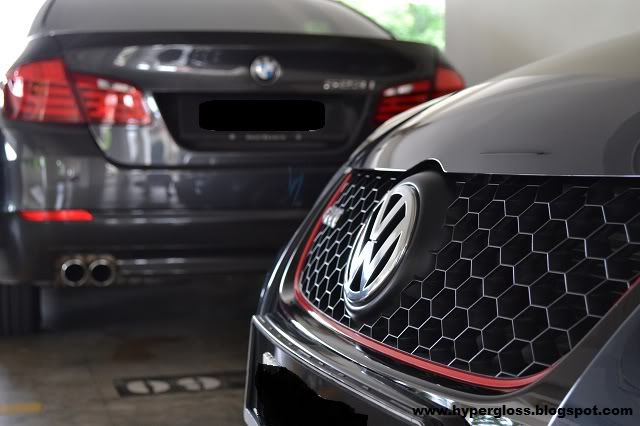
as usual i will dilute 15% of IPA (Isopropyl Alcohol) to remove any existing polish oil, silicone etc prior coating. some of the pictures after spending 3hours to coat it.


interior


thanks for viewing.